

In homeownership, there’s perhaps no adversary as relentless as the British weather. UK homes, with their diverse roof styles, often find themselves in a battle against the elements.
Roof leaks, the unwelcome consequence of this climatic skirmish, can compromise the very essence of shelter and comfort. This guide aims to navigate the labyrinth of British roofs, tackle the scourge of leaks head-on, identify leaks, develop a keen eye for detection, explore essential tools and materials, and learn how to fix them. While we support the DIY attempts at fixing, we also acknowledge that the wisdom of seeking professional assistance is often better. Emphasizing safety as of key importance, we’ll look at how to notice, understand, and take care of leaky roofs and preserve your home.
Understanding the Causes of Roof Leaks
The United Kingdom has many roof designs, from the classic pitched style to the practical flat roof. The one thing common between all the different roof styles is that they leak over time. Understanding and spotting the leaks is key to preventing any damage to your roof.
Here is how to tell the difference between the different types of damage and the severity of each.
Weather-Related Damage
The UK’s weather is known for the frequent heavy rain, and strong winds pose a big challenge to the roofs. Constant and relentless exposure to such extreme elements can cause serious wear and tear down to even the hardest materials over time.
Aging and Maintenance Neglect
Many British homes have a historical status due to when the house itself was built. The aging materials carry the weight of history as well. The aging process and neglect can transform a once-sturdy roof into a leaky liability.
Key Leak-Prone Areas
Certain regions in the UK are more predisposed to leaks than others. Chimneys, with their complex flashing and valleys, where two roof slopes converge, often emerge as the culprits here.
Detecting and Locating Roof Leaks in British Homes
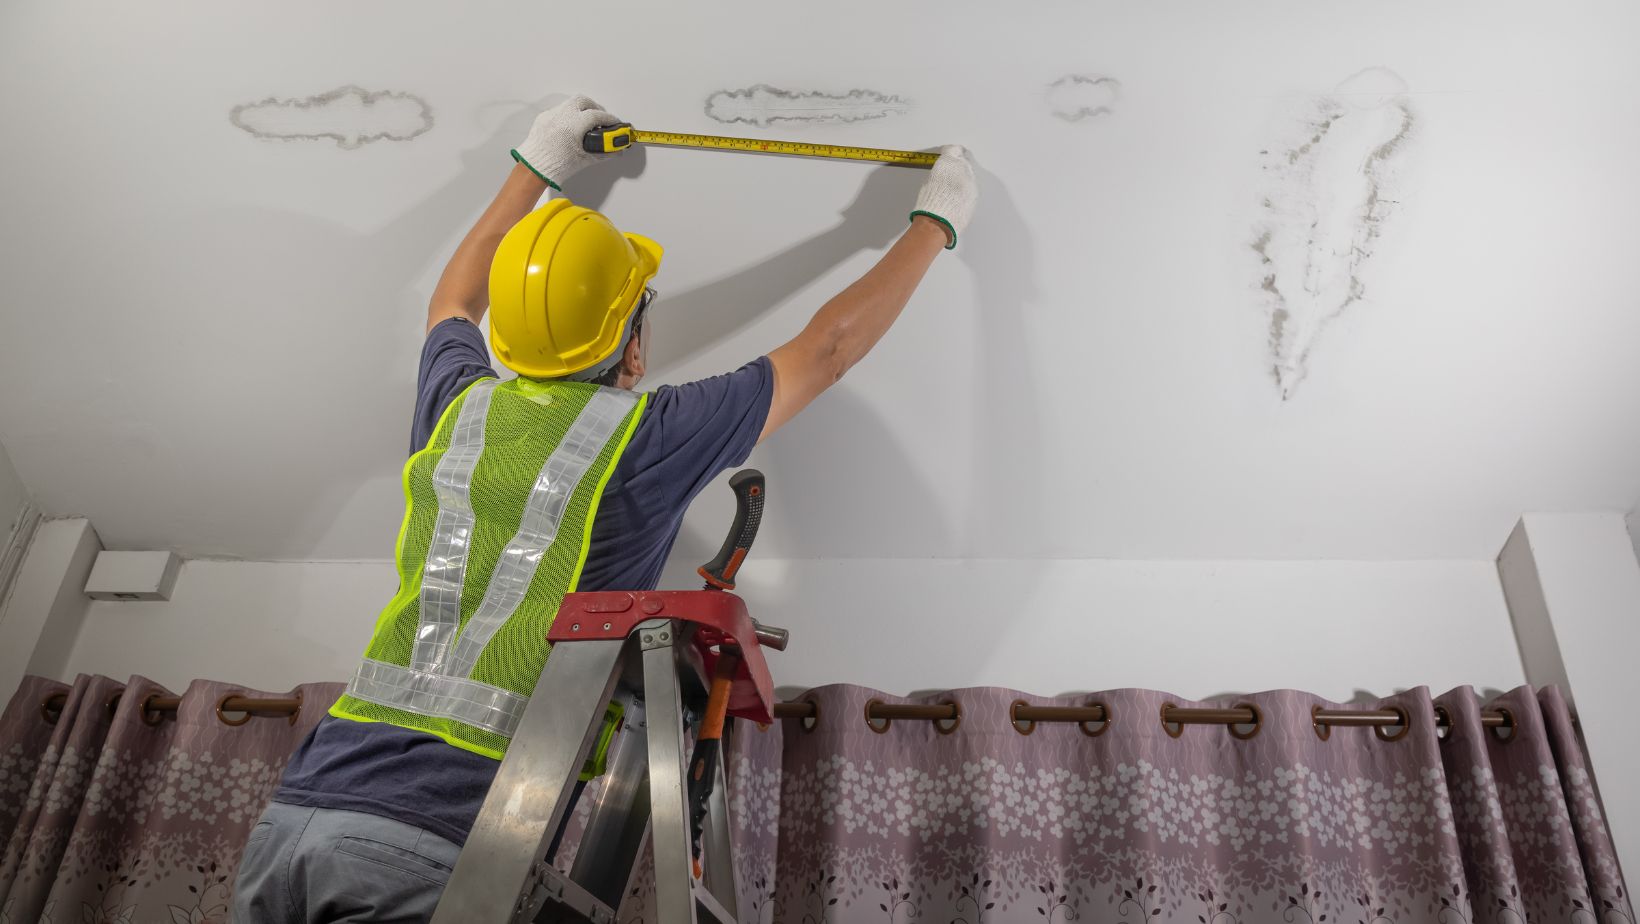
Key signs to look out for In the UK, nature often provides early warnings. The signs to look for are damp patches on the ceilings, moss growth, or a subtle change in paint colour, which are usually signs that the roof has leaks.
If you take matters into your own hands and inspect the quality of the roof yourself, you should do so securely and adhere to the UK’s safety guidelines.
If you need help with unsure of how to safely look for leaks on your roof, it would be best to call a professional who is familiar with safety guidelines and could prevent any unwanted damage.
Tools and Materials for Roof Repair in the UK
● UK-Specific roofing materials. A quilt of materials blankets British roofs, from the robust slate to the versatile tile. Selecting the right repair materials tailored to your roof type is paramount.
● Gathering Essential Tools. A successful DIY roof repair requires both the right skills and the right tools. We’ll assemble your toolkit with items readily available in UK hardware stores.
● Emphasis on Safety Gear. Safety gear takes centre stage in the ever-unpredictable UK weather. Sturdy ladders, non-slip boots, gloves, and harnesses become your armour against the elements.
A Step-by-Step Guide to Repairing Roof Leaks in UK Homes
Take care of shingle and tile damage. If part of a shingle is missing, you’ll have to replace the whole thing. Check to see if there are leftover shingles from the last time the roof was replaced. If you can’t find a perfect match, pick the closest one.
To replace a damaged shingle or roof tile, you’ll need a hammer, a flat pry bar, a utility knife and roofing nails.
Begin by removing the first row of nails by sliding a pry bar under the shingle above the damaged one, lifting it, and removing it from the sealer strip. After releasing it from the sealing strip, you’ll see the first row of nails beneath. Directly push the pry bar under the shingle. After yanking out all eight nails, the damaged shingle should be easily removed.
Sealing Flashing and Joints: Splices in through-wall masonry flashing must be sealed to prevent leakage. Even in the best conditions, some water will reach these joints. During a wind-driven rain, water will penetrate the outer wythe of the masonry wall, regardless of how well the wall is built. Water reaching poorly sealed joints will bypass the flashing.

Water will build up in the cavities during many rainstorms, especially wind-driven rains. The amount of water penetration, the velocity of the wind, the air-pressure differential across the masonry, and the effectiveness of the weep holes will determine this.
Fixing Flat Roof Issues: Remove the Damaged Portion
Cut at least one to two inches beyond the damaged area to ensure the entire damaged area will be addressed in the repair.
Clean Damaged Area
Brush away large debris like pebbles, twigs, or leaves. Also brush away rust from fasteners or flashing.
Wear waterproof gloves, and use cotton rags and mineral spirits to clean the patch area and several inches beyond. Let the mineral spirits dry for a few minutes.
Cut Reinforcing Tape to Size
Measure the size of the area to be patched. Cut reinforcing tape to cover this size, plus another two inches beyond the patch. Multiple rows of reinforcing tape can be overlapped.
Fill Depression With Wet Patch
Water could pool and leak in depressions in the roof, so they must be raised to the level of the surrounding roof deck. Using the putty knife and wet patch, fill in the depression.
Set Reinforcing Tape
Set the reinforcing tape loosely on the wet patch material. Wear waterproof gloves and safety glasses. The tape should be flat. Folds, buckles, ridges or creases will allow water to enter the patched area.
Embed Reinforcing Tape
Press down on the patch tape with the putty knife. Hold one end with a gloved hand to avoid dislodging the patch tape. Then, apply light pressure to run the putty knife along the length of the patch tape. The tape should sink into the wet patch material.
Apply the Top Layer of the Wet Patch
With the putty knife, apply a top coat of wet patch, extending the patch two to four inches beyond the lower patch. Apply the damp patch from 1/8- to 1/4-inch thick. Feather out the edges of the wet patch into the surface of the roofing material. Avoid creating ridges along the edges that can peel up over time.
Gutter Maintenance and Repair
Well-functioning, clear gutters will prevent the rain from entering your home and damaging your foundation. Maintaining your gutters clean will prevent clogging and water overflow. Various products are available to keep your gutters clean.
The function of gutters is to keep rainwater from running down your home’s walls. Directing the downspouts to a garden or vegetative area prevents water from building up around your foundation.
Using Professional Handyman Services in the UK
Professionals in roof repair or the appropriate contractors are responsible for repairing structural integrity and fixing and addressing issues such as holes or broken shingles. These handymen ensure the safety of your roof. They may also offer additional services like leak repair and gutter cleaning.
Roof replacement contractors replace the old or damaged roofing materials. They can help choose a replacement tile or shingle style and recommend roofing materials similar to the ones previously installed.
Finding reliable handymen is one of the hardest tasks in modern times. When looking for quality roofing services, consider the experience and qualifications of your roofing contractor.
It is essential to do due diligence and research each roofing service carefully, ensuring that reputable contractors will do the job. Analyzing customer reviews, examining portfolios of previous work, and asking for references are all helpful steps.
Hiring a roofing contractor will save the average homeowner a lot of time and energy. A contractor removes the guesswork in looking for parts.
Proactive Measures to Prevent Roof Leaks
Prevention is the first line of defense. We’ll emphasize the importance of regular roof maintenance tailored to the peculiarities of UK homes. Getting an estimate from a professional roof contractor is the best action. DIY roof repairs can be time-consuming and costly.
The UK’s climate necessitates unique weather-proofing measures. We’ll share strategies to fortify your roof against the relentless elements.
Long-Term Care and Upkeep of UK Roofs
● Scheduled Inspections. Timely inspections can be your roof’s salvation, especially after bouts of British weather. We’ll stress the need for professional scrutiny in these testing times.
● Upgrading Roof Materials. For those considering a revamp, we’ll explore options for upgrading roofing materials while respecting the UK’s architectural styles and historic preservation guidelines.
Conclusion
In-home ownership, the roof stands as a sentinel guarding against the vagaries of British weather. Roof leaks, however, demand swift action. This comprehensive guide lets you detect, repair, and prevent leaks in your home.
While we champion the DIY spirit, we also advocate the wisdom of professional handyman assistance, especially in the UK’s unique challenges and standards.
With your newfound knowledge and a commitment to safety, you’re well-prepared to ensure your home remains a sanctuary, impervious to the relentless forces of the British climate.
More Stories
5 Easy Steps to Save for an Investment Property Down Payment
5 Signs You Need a New Roof
Hire the Finest Landscaping Expert With These Tips