
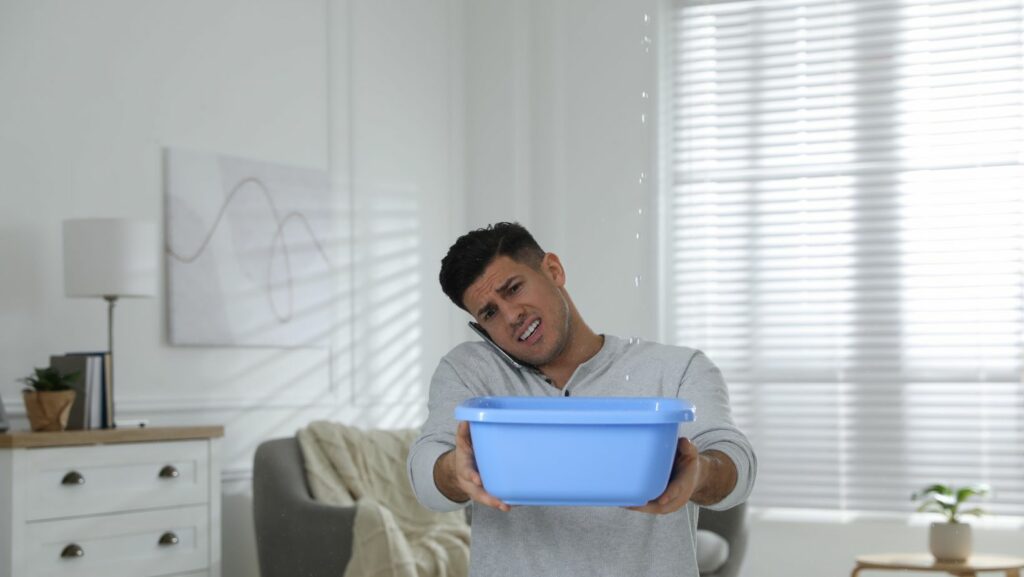
Did you know that 93% of water damage in homes starts with a roof leak? Addressing a leaky roof is crucial not only to preserve the structural integrity of your home but also to prevent mold growth and reduce energy costs. This post aims to empower you with the knowledge to identify, assess, and fix roof leaks. While this guide can help you with minor roof leak repair, it’s also essential to recognize when to call a roofing company for professional assistance.
Understanding Roof Leaks
What is a Roof Leak?
A roof leak occurs when water infiltrates your home through the roof. This can happen due to various reasons, including aging materials, damaged shingles, or clogged gutters. Ignoring these leaks can lead to significant roof leak repair costs.
Common Signs of a Roof Leak
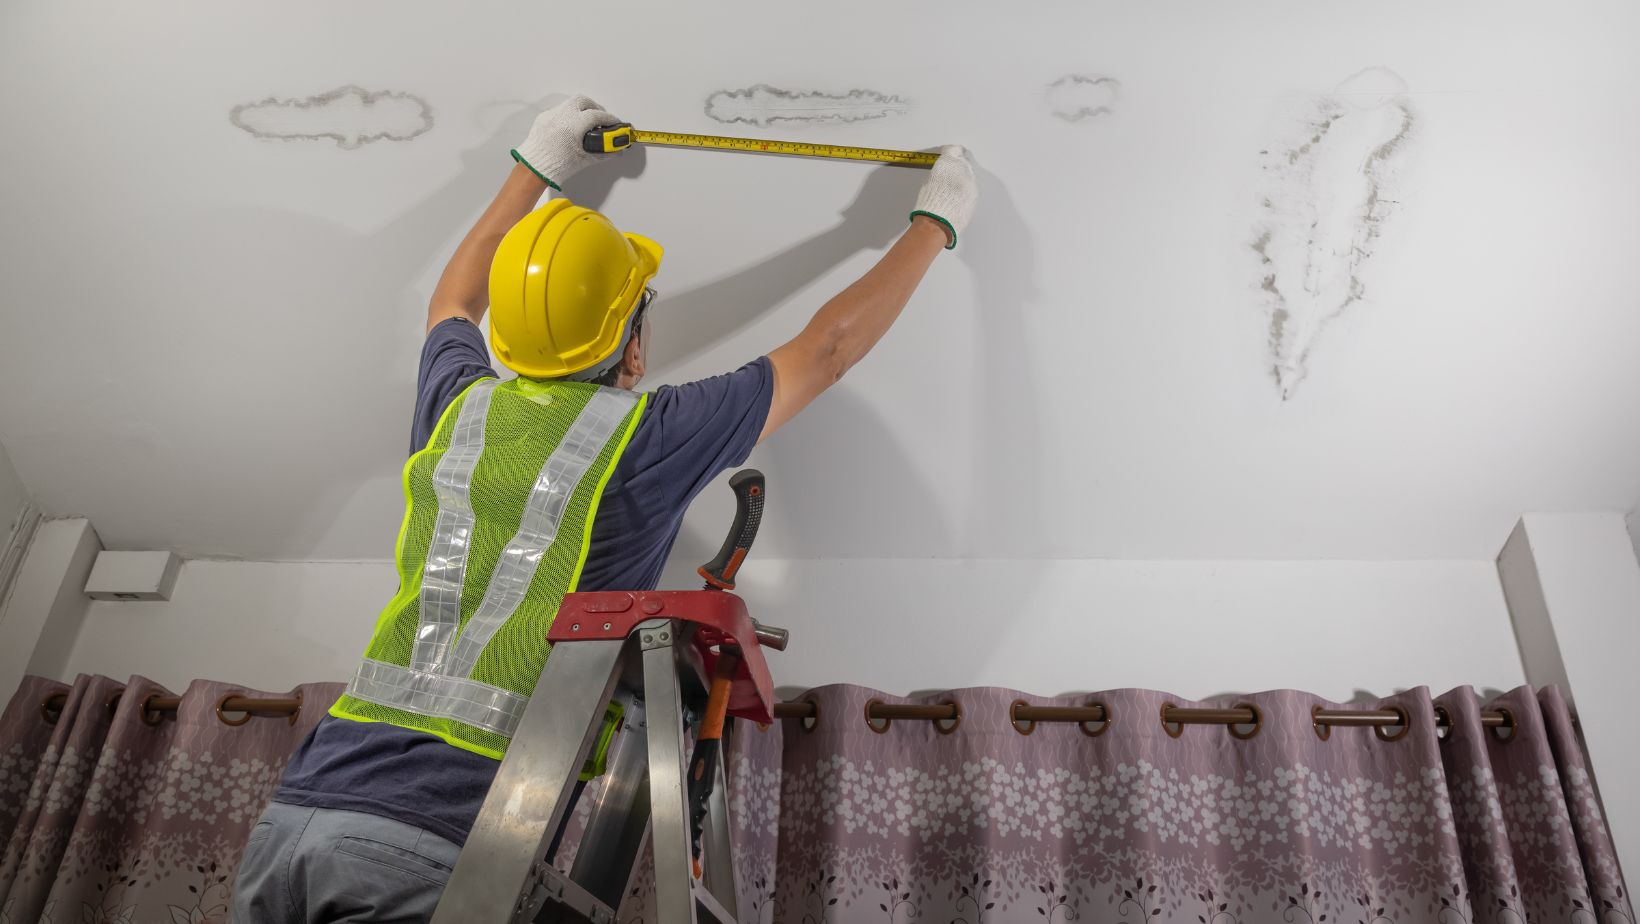
Identifying a leaky roof early can save you from extensive roof repair. Here are some common signs to look for:
- Water Stains: Discoloration on ceilings and walls.
- Drips: Water dripping inside the house, especially after rain.
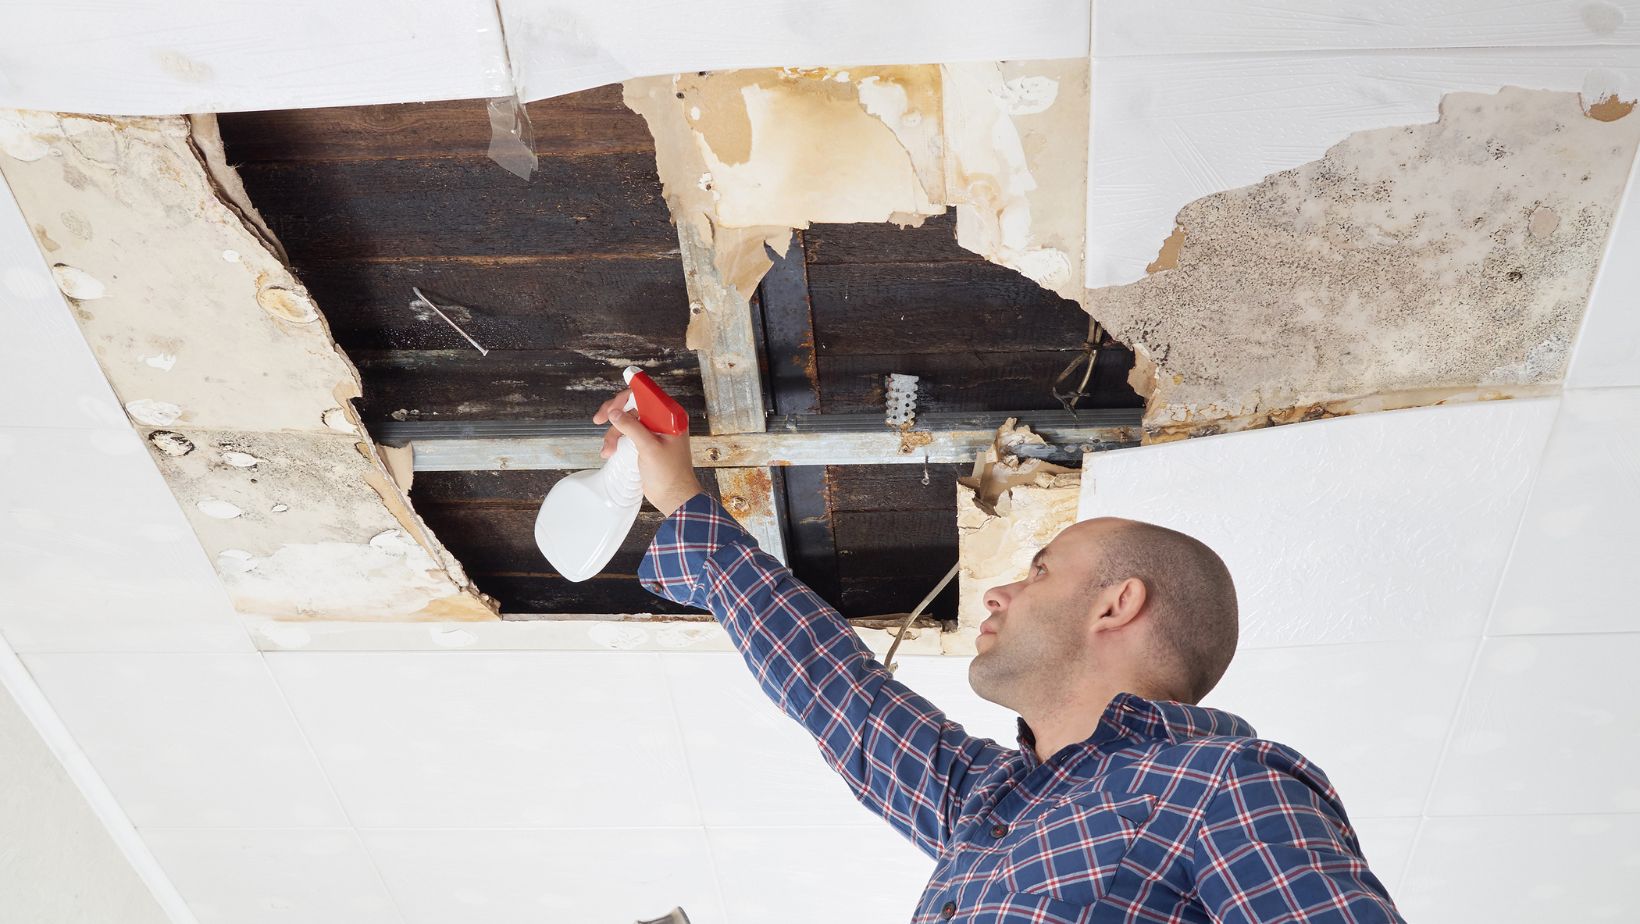
- Dampness and Mold: Presence of mold or mildew on walls and ceilings.
- Attic Inspection: Light penetrating through the roof, damp rafters, and musty smells in the attic.
Preparing for Roof Leak Repair
Safety First
Before embarking on any roof leakage repair, ensure your safety:
- Gear Up:
- Non-slip shoes
- Gloves
- Safety harness
- Helmet
Gathering Tools and Materials
Having the right tools and materials is crucial for efficient roof leak repair:
|
Tools |
Materials |
|
Ladder |
Roofing tar |
|
Roofing nails |
Roof patching kits |
|
Hammer |
Sealant |
|
Utility knife |
Tar paper |
Assessing the Damage
Perform a thorough inspection to assess the extent of the damage. Use a checklist to document your findings:
- Indoor water stains
- Outdoor shingle condition
- Flashing and gutter assessment
If the damage appears extensive, it’s wise to consult a roofing company to avoid escalating roof leak repair costs.
Step-by-Step Repair Process
Step 1: Locating the Source of the Leak
Finding the exact source of the leak is crucial for effective roof leak repair:
-
Indoor Inspection:
- Trace water stains and damp areas on walls and ceilings.
- Outdoor Inspection:
- Examine shingles, gutters, and flashings for damage.
-
Water Testing:
- Use a hose to simulate rain and identify the precise location of the leak.
Step 2: Temporary Leak Patching
For immediate roof leakage repair, consider temporary fixes while planning a permanent solution:
- Apply roofing tape and sealants to damaged areas.
- Cover the damaged area with a tarp to prevent further water intrusion.
Step 3: Permanent Roof Repair Techniques
Repairing Asphalt Shingles
- Remove Damaged Shingles:
- Carefully lift the edges of the surrounding shingles and remove the nails holding the damaged shingle in place.
- Fit and Nail New Shingles:
- Slide the new shingle into position and secure it with roofing nails.
- Seal Edges:
- Apply roofing sealant around the edges to ensure a watertight seal.
Fixing Leaks Around Flashings
- Clean Flashings:
- Remove debris and old sealant.
- Replace Damaged Flashing:
- Fit new flashing pieces and secure them with roofing nails.
- Seal with Roofing Tar:
- Apply roofing tar around the edges to prevent water infiltration.
Handling Roof Vents and Plumbing Stacks
- Inspect Vents:
- Check for cracks or gaps around vent bases.
- Replace Vent Boots:
- Remove the damaged boot flashing and install a new one, sealing it with caulk.
Repairing Flat Roofs
- Clean the Area:
- Remove debris and dirt from the affected area.
- Apply Patching Materials:
- Use roof patching kits or roofing tar to patch the damaged area.
- Ensure Proper Drainage:
- Check and repair drainage systems to prevent water pooling.
Preventative Measures and Maintenance
Regular Roof Inspections
Conduct seasonal inspections to catch potential issues early:
|
Task |
Frequency |
|
Check for shingle damage |
Every 6 months |
|
Inspect attic for leaks |
Quarterly |
|
Clean gutters |
Quarterly |
Gutter and Downspout Maintenance
Keeping gutters clean is key to preventing roof leaks:
- Remove debris regularly.
- Ensure downspouts direct water away from the foundation.
Trimming Overhanging Trees
Overhanging branches can damage your roof and block gutters:
- Trim branches that hang over the roof.
- Regularly maintain tree limbs near the house.
Attic Ventilation and Insulation
Proper ventilation and insulation can prevent moisture buildup, reducing the risk of roof leaks:
- Ensure attic vents are clear and functioning.
- Add insulation as needed to prevent condensation.
When to Call a Professional
Recognizing Major Issues
If you notice structural damage or persistent leaks despite attempting a fix, consult a roofing company for a professional assessment.
Selecting a Quality Roofing Contractor
Finding a reputable contractor ensures quality roof repair:
- Check licenses, insurance, and references.
- Ask for a detailed estimate and timeline.
- Read reviews and testimonials.
Understanding Roofing Warranties
Warranties can cover some roof leak repair costs:
- Review what the warranty covers.
- Understand any exclusions or conditions.
Conclusion
Addressing a roof leak promptly can save you from extensive damage and costly repairs. Regular maintenance and timely interventions can significantly prolong your roof’s lifespan. If you encounter major issues or feel uncertain about any repair process, don’t hesitate to contact a professional roofing company. Share your experiences, ask questions, or reach out for professional help if needed!
More Stories
How Roof Restoration Can Improve Energy Efficiency
Why Choose a Windows Replacement Richmond Hill Company?
Understanding Roof Costs: Repairs, Replacements and Installation Services