
Are you opening your GE dishwasher only to find that your dishes are as cold as they were when you put them in?
A dishwasher that doesn’t heat up is more than just a minor inconvenience; it’s a puzzle waiting to be solved. From the frustration of partially cleaned dishes to the challenge of troubleshooting, dealing with a GE dishwasher that fails to heat can be a daunting task.
In this comprehensive guide, we delve into the common culprits behind this issue and provide step-by-step solutions to get your dishwasher back in its top form.
Whether you’re a DIY enthusiast or just seeking insights before calling the professionals, our article offers everything you need to understand and fix the heating problems with your GE dishwasher.
Key Causes of Heating Issues in GE Dishwashers
Faulty Heating Element:
The heating element in your GE dishwasher plays a crucial role in the machine’s functionality. It’s responsible for heating the water to the appropriate temperature, ensuring your dishes are not only clean but also sanitized. When this element fails, your dishwasher loses its ability to effectively clean and dry your dishes.
Identifying a Faulty Heating Element:
- Visual Inspection: Begin by inspecting the heating element for any visible signs of damage, such as cracks, blistering, or discoloration.
- Testing for Continuity: Use a multimeter to check for continuity in the heating element. Lack of continuity is a clear sign that the element needs replacement.
- Inconsistent Heating: If some dishes are coming out warm while others are cold, according to the source, this could indicate an issue with the heating element’s ability to uniformly distribute heat.
Steps to Replace a Faulty Heating Element:
- Safety First: Disconnect your dishwasher from the power source to ensure safety during the repair.
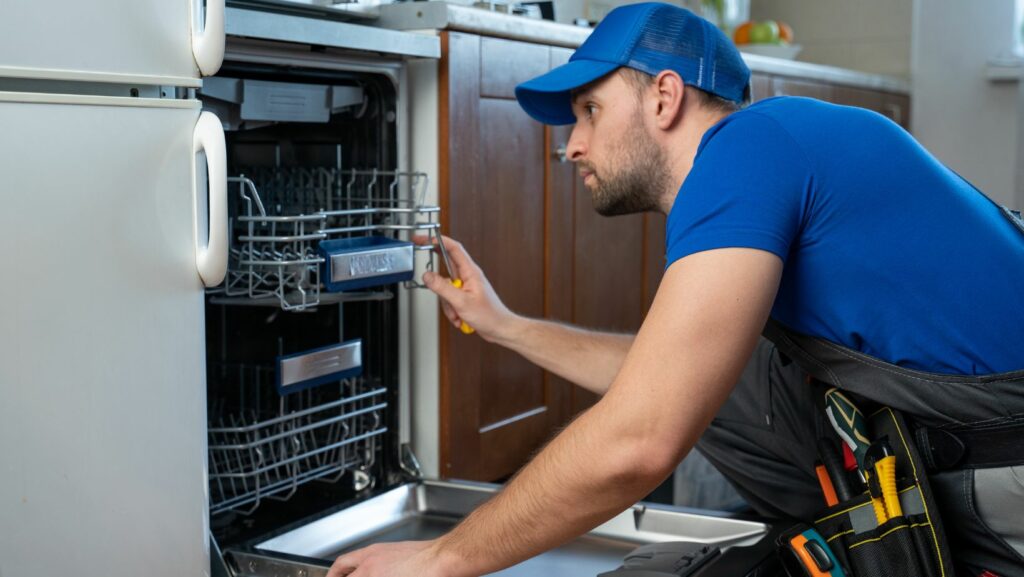
- Access the Element: Remove the lower dish rack to access the heating element. Typically, the element is located at the bottom of the dishwasher.
- Disconnect the Element: Unscrew or unclip the brackets holding the element in place. Carefully disconnect the wires attached to the element.
- Install the New Element: Position the new heating element and secure it with the brackets. Reattach the wires, ensuring a secure connection.
- Test Your Repair: Reconnect the dishwasher to the power source and run a short cycle to test the new element. Monitor the dishwasher to confirm that it’s heating water correctly.
Clogged Spray Arm:
A key component of your GE dishwasher that often gets overlooked is the spray arm. This vital part is responsible for evenly distributing water and detergent throughout the dishwasher during a cycle. However, over time, the spray arm can become clogged with food particles, mineral deposits, and other debris, leading to inefficient cleaning and heating issues.
Identifying a Clogged Spray Arm:
- Poor Cleaning Performance: If dishes remain dirty or have spots after a cycle, it might indicate a clogged spray arm.
- Visible Debris: Inspect the spray arm for visible signs of clogging, such as food particles or mineral buildup in the spray holes.
- Inconsistent Water Distribution: If some areas of the dishwasher seem to receive more water than others, this might be due to a partially clogged spray arm.
Steps to Clean a Clogged Spray Arm:
- Remove the Spray Arm: Most GE dishwasher models allow you to easily unscrew or unclip the spray arm from the dishwasher’s interior.
- Rinse and Inspect: Rinse the spray arm under running water. Inspect the holes for any remaining debris.
- Clean with Appropriate Tools: Use a toothbrush, thin wire, or a needle to gently dislodge any debris from the spray holes. For mineral deposits, soaking the arm in white vinegar for a few hours can be effective.
- Reinstall the Spray Arm: Once thoroughly cleaned, reattach the spray arm to the dishwasher, ensuring it’s securely in place and can rotate freely.
- Run a Test Cycle: After reassembly, run a short cycle to ensure the spray arm is functioning correctly and water is evenly distributed.
Malfunctioning Thermistor:
The thermistor in a GE dishwasher is a critical component for regulating the temperature of the water. This small sensor plays a big role in ensuring your dishwasher operates at the optimal temperature for cleaning and sanitizing your dishes. When the thermistor is malfunctioning, it can lead to inadequate heating of the water, affecting the dishwasher’s performance.
Identifying a Malfunctioning Thermistor:
- Inaccurate Temperature Regulation: If the dishwasher is not reaching the desired temperature, or if there’s a significant inconsistency in water temperature, the thermistor might be at fault.
- Error Codes: Some GE dishwashers display error codes that can indicate a problem with the thermistor.
- Unusual Cycle Times: If the dishwasher is taking longer than usual to complete a cycle, or if it seems to end prematurely, this could be a symptom of a malfunctioning thermistor.
Steps to Diagnose and Replace a Malfunctioning Thermistor:
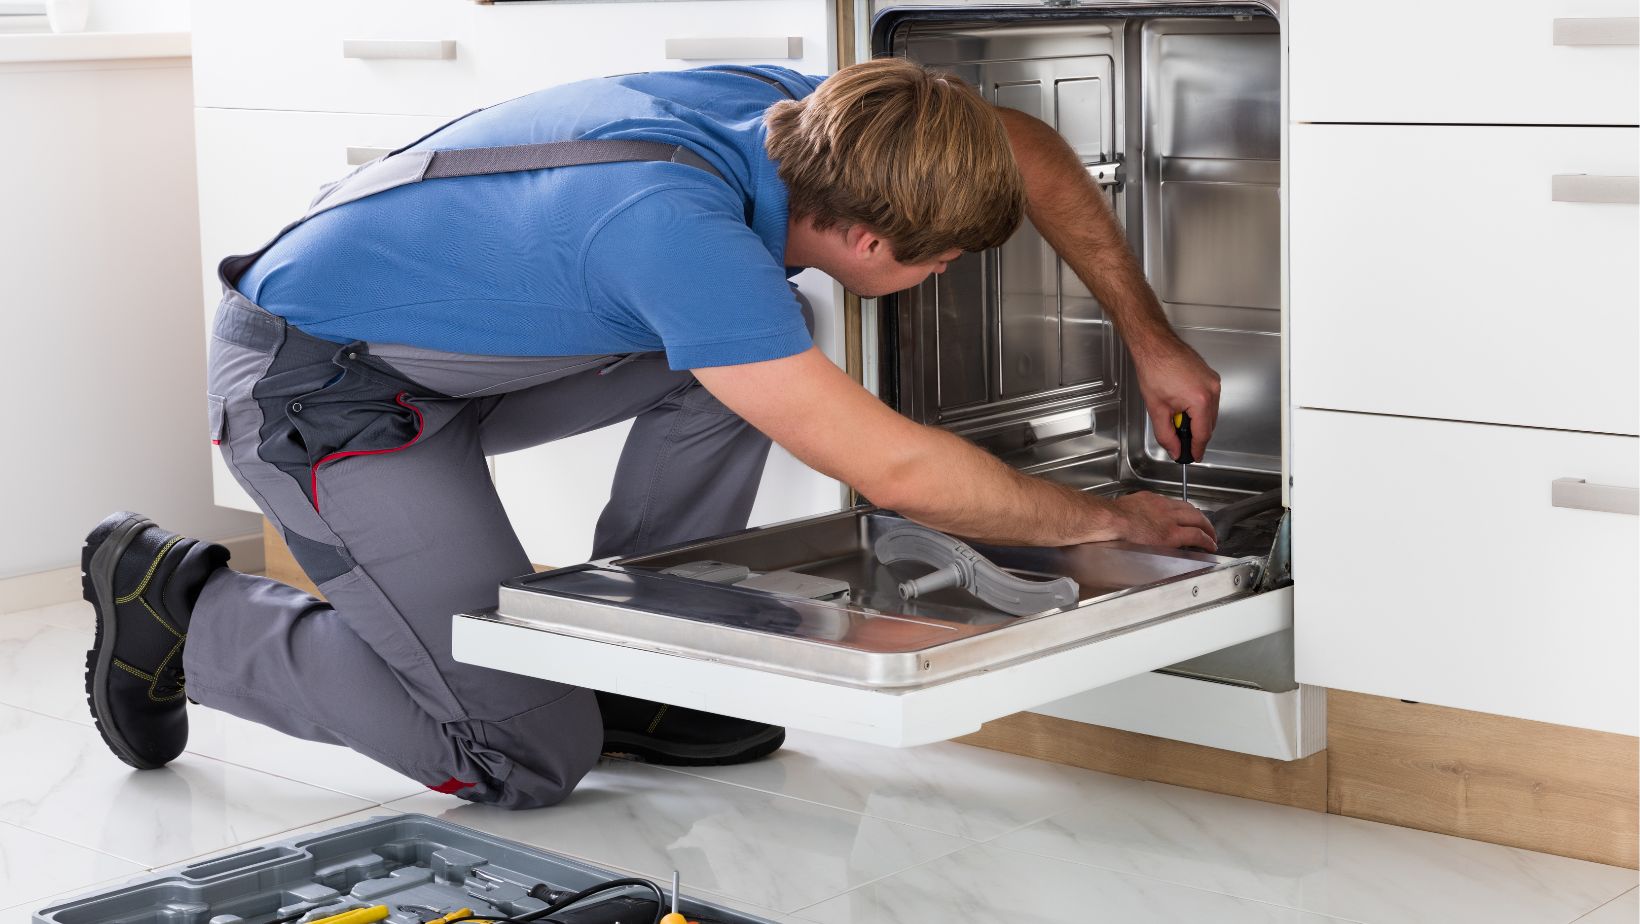
- Locate the Thermistor: Refer to your GE dishwasher’s manual to locate the thermistor. It’s usually found attached to the bottom of the dishwasher tub.
- Test the Thermistor: Using a multimeter, test the thermistor’s resistance. The resistance should change with the temperature of the water in the dishwasher. If the resistance does not change appropriately, the thermistor may be faulty.
- Replace the Thermistor: If testing confirms the thermistor is malfunctioning, it needs to be replaced. Disconnect the dishwasher from the power source, remove the faulty thermistor, and install a new one as per your model’s specifications.
- Reconnect and Test: After replacement, reconnect your dishwasher and run a cycle to test if the issue is resolved.
When to Contact Professionals:
Determining when to seek professional help for your GE dishwasher issues is crucial for ensuring safety and efficiency. If you encounter complex electrical problems, like a malfunctioning control board or intricate wiring issues, it’s wise to consult an expert. These situations often require specialized tools and expertise that only professionals possess.
Additionally, if you’ve tried DIY fixes and the problem persists or recurs, this could signal a more serious, underlying issue that requires a technician’s insight. For those with dishwashers still under warranty, it’s important to remember that DIY repairs might void the warranty, making
professional service the safer choice.
Safety is another key consideration. Dishwasher repairs often involve dealing with electricity and water, a combination that can be hazardous without the proper know-how. Professional technicians are trained to handle these risks safely and effectively.
Furthermore, when time is a critical factor, and you need your dishwasher functioning as soon as possible, a professional can diagnose and fix the problem more quickly due to their experience. Their service often comes with the added benefit of a guarantee, ensuring the repair is of a high standard and providing long-term solutions to prevent future issues.
In essence, while DIY approaches can be effective for minor issues, recognizing the scenarios that require professional intervention is essential for the longevity and safe operation of your GE dishwasher.
More Stories
How Roof Restoration Can Improve Energy Efficiency
Why Choose a Windows Replacement Richmond Hill Company?
Understanding Roof Costs: Repairs, Replacements and Installation Services