
 Breathing new life into an old chair is one of the most rewarding DIY projects for home enthusiasts. Whether you’ve discovered a hidden gem at a car boot sale or inherited a family heirloom that’s seen better days, restoration can transform a tired piece into a stunning statement piece for your home. This comprehensive guide will walk you through the entire process of restoring a chair from assessment to finishing touches.
Assessing Your Chair’s Condition
Before diving into any restoration project, it’s crucial to thoroughly evaluate what you’re working with. Start by examining the chair’s overall structure, looking for loose joints, wobbly legs, damaged or missing components.
Take photographs from multiple angles to document the chair’s original state. This will serve as a helpful reference throughout your restoration journey.
Gathering Your Restoration Tools and Materials
A successful chair restoration requires the right tools and materials. Here’s what you’ll need:
• Screwdrivers
• Hammer and rubber mallet
• Sandpaper in various grits (80, 120, 220)
• Wood glue
• Fabric glue for upholstery repairs
• Clamps in various sizes
• Staple gun and staples
• Upholstery fabric (if reupholstering)
• Paint or wood stain
• Brushes and rollers
• Protective finish (polyurethane or wax)
• Safety equipment (gloves, safety glasses, face mask)
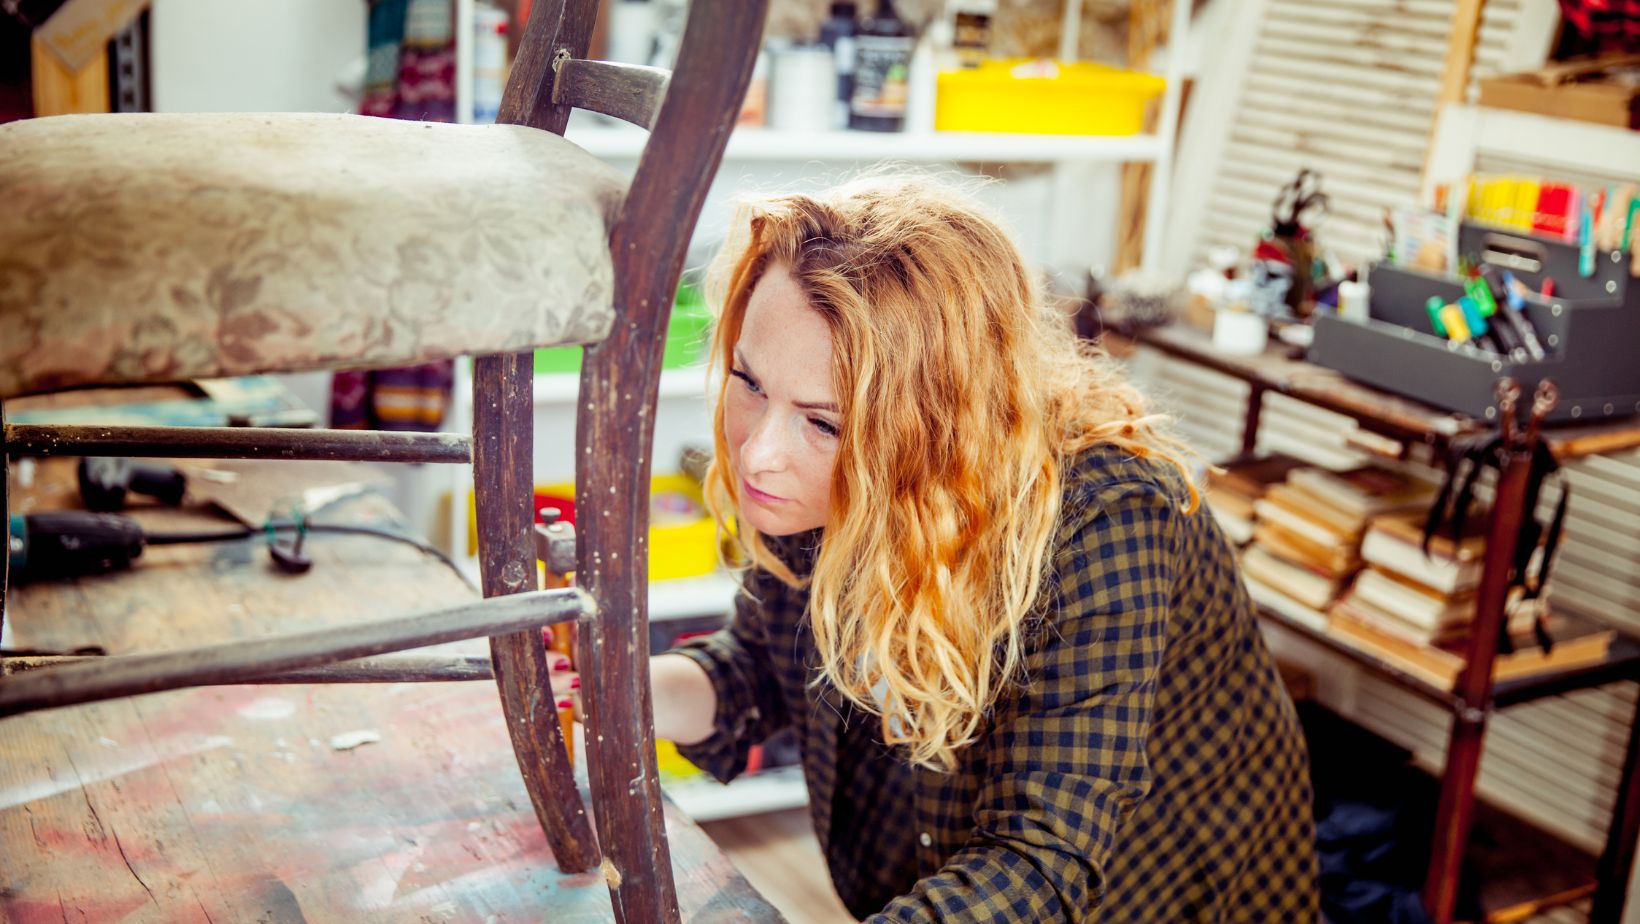
Disassembling Your Chair
Careful disassembly your chair is the crucial first step for a successful restoration. Begin by removing any upholstery, taking note of how it was attached. Use a flathead screwdriver or upholstery staple remover to extract staples or tacks.

If the chair has removable components, label each piece and take additional photos to ensure you can reassemble everything correctly. Place small hardware items like screws in labeled bags to prevent loss.
For chairs with stubborn joints, avoid forcing them apart as this may cause damage. Instead, apply gentle pressure or use a rubber mallet to carefully separate the parts.
Repairing Structural Issues
Now it’s time to look for structural problems. Start by cleaning old glue from the chair’s joints using a damp cloth or fine sandpaper.
For loose joints, apply wood glue to both surfaces, reassemble, and secure with clamps until dry (typically 24 hours). If there are any broken parts, try using wood filler or making replacement parts.
If your chair has wobbly legs, consider adding corner blocks for additional support. These small wooden triangles can be glued and screwed into the corners where the legs meet the frame of the seat.
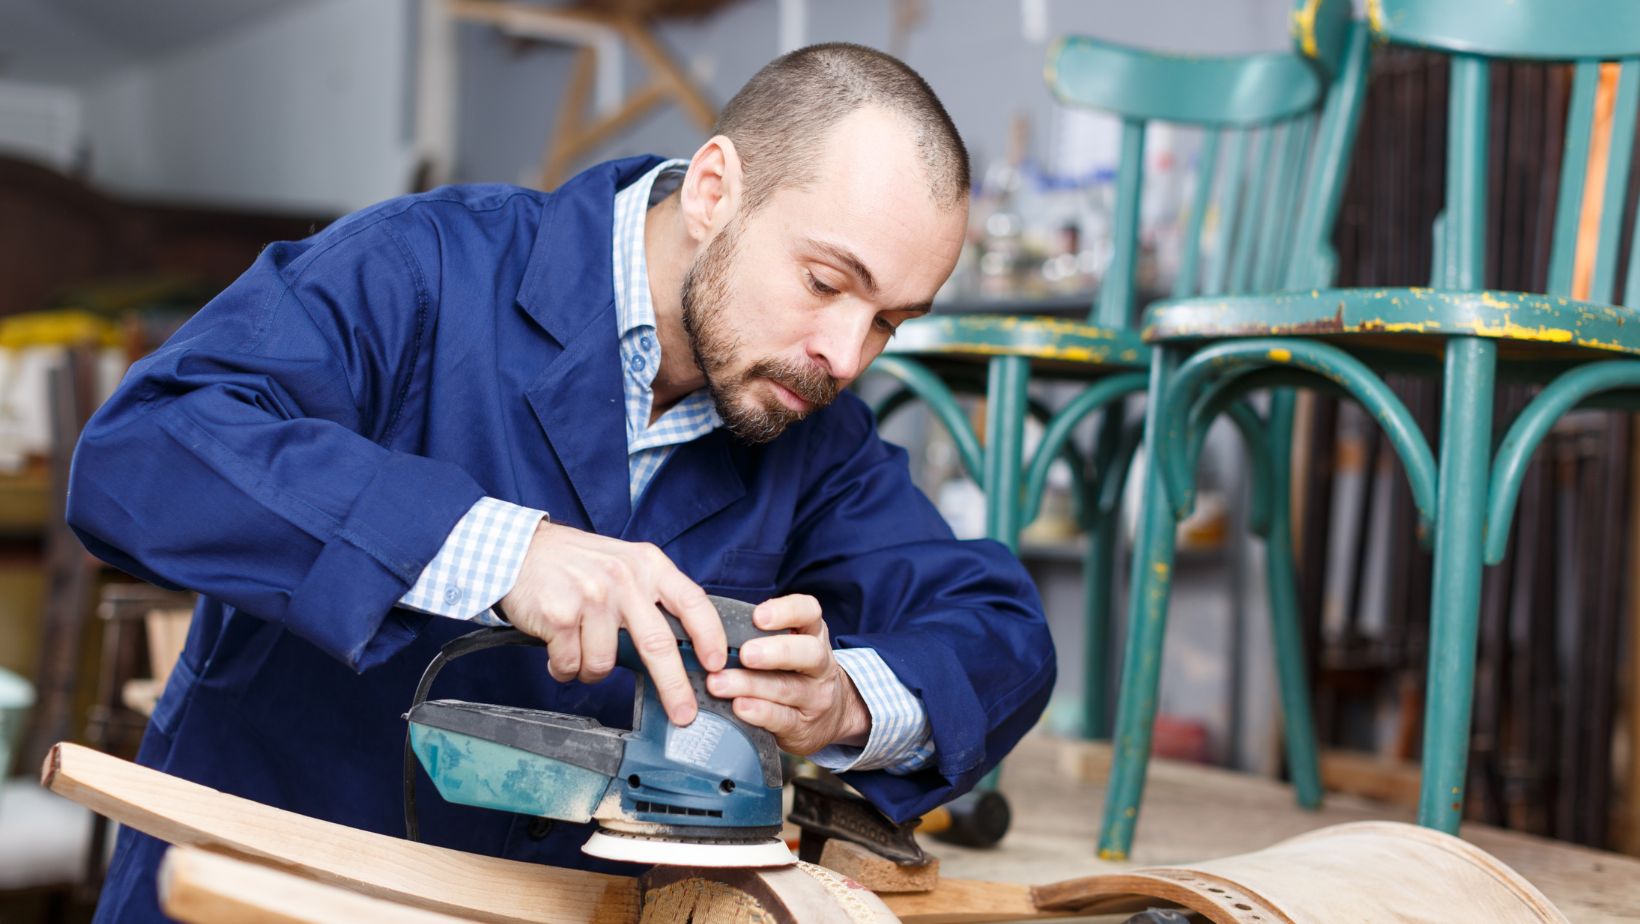
Refinishing the Wood
Refinishing gives your chair a renewed appearance and protects the wood from future damage. Begin by removing the old finish using sandpaper or chemical strippers. Remember to always follow safety guidelines.
Start with coarse-grit sandpaper (80-100) to remove the existing finish, then progress to finer grits (150-220) for smoothing. Always sand in the direction of the wood grain to avoid scratching and damaging the wood.
Once the wood is sanded down, wipe the chair with a microfiber cloth to remove dust before applying your chosen finish. Whether you opt for paint, wood stain, or a natural oil finish, apply thin, even coats and allow for proper drying time between applications.
Choosing the Right Finish
The finish you select will significantly impact your chair’s final appearance. Consider the following options:
• Wood stain: Enhances the natural grain while adding color
• Chalk paint: Provides a vintage, matte look minus the prep
• Oil-based paint: Offers durability and a smooth finish
• Clear polyurethane: Protects while maintaining the wood’s natural appearance
For antique pieces, consider techniques that preserve the chair’s character. When it comes to chairs with an iconic design it’s best to go easy on the restoration. That way, you keep their historical charm intact.
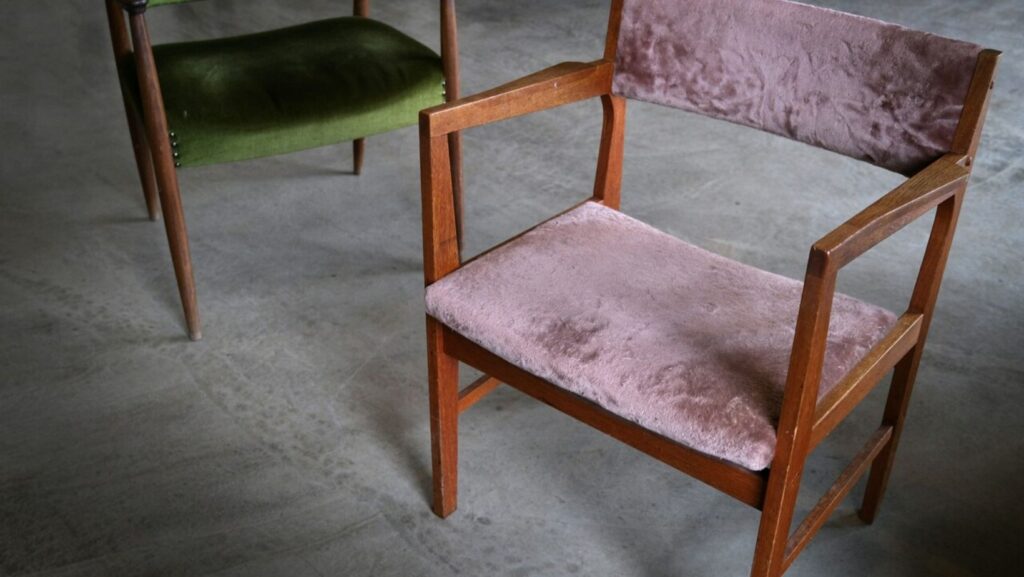
Reupholstering Your Chair
If your chair includes upholstered elements, reupholstering can dramatically transform its appearance. Begin by creating patterns from the original upholstery before removing it completely.
Select a fabric appropriate for your chair’s intended use and style. Durable fabrics like cotton, leather, or performance fabrics like nylon work well for chairs you’ll use all the time. Save fancy, eye-catching textiles for chairs that will be more decorative.
Cut your new fabric according to your patterns, allowing extra material for wrapping and securing. Starting from the center and working outward, attach the fabric using a staple gun, keeping it taut but not stretched to the point of distortion.
Adding Personal Touches
Make your restored chair uniquely yours by incorporating personal elements. Consider these budget-friendly and creative home makeover ideas to customize your project:
• Add a decorative nail head trim along upholstery edges
• Create a contrasting piping detail
• Incorporate vintage buttons for tufting
• Paint subtle designs or stencil patterns on wooden components
• Mix complementary fabrics for a contemporary look
These small details can elevate your restoration from functional to truly remarkable.
Maintaining Your Restored Chair
Proper maintenance will ensure your restoration efforts last for years. Dust wooden surfaces regularly with a soft cloth. Apply furniture polish or wax every few months to protect the finish.
For upholstered sections, vacuum regularly using an upholstery attachment. Address spills immediately to prevent staining and consider applying a fabric protector to repel liquids and dirt.
By breathing new life to an old piece, you’re not only creating something beautiful for your home but also preserving a bit of history and reducing waste. Whether you’re a novice or an experienced DIYer, fixing up an old chair can be a very rewarding project.
More Stories
Low-Budget Tradeshow Giveaway Ideas That Still Impress Visitors
How Digital Trends Influence Today’s Modern Interior Design
10 Board Games That Turn Any Quiet Night Into a Laugh Riot With Friends