
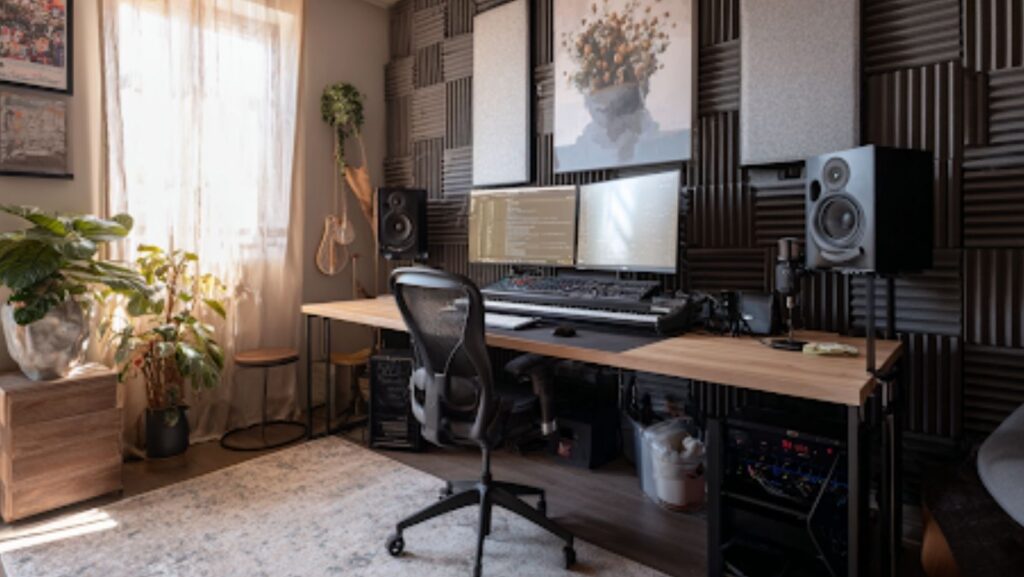
Building a home studio feels exciting. You’ve watched the YouTube videos. You’ve bookmarked the gear lists. That new microphone and audio interface are sitting in your cart, waiting for checkout. But before you spend a dime on equipment, look around the room you’re planning to use.
Your space will make or break your recordings. A cheap microphone in a treated room sounds better than an expensive microphone in an untreated one. Every time. Professional engineers know this. Beginners learn it the hard way after wasting money on gear that can’t fix bad acoustics.
The good news? Acoustic measurement and basic treatment don’t require a massive budget. Understanding your room’s problems is the first step toward solving them. Most home studio issues have straightforward fixes once you know what you’re dealing with.
Why Your Room Matters More Than Your Gear
Sound behaves differently in every space. It bounces off hard surfaces. It gets absorbed by soft ones. It builds up in corners. It creates weird frequency spikes and dips that color everything you record.
That beautiful vocal take? Your room added its own character to it. Those muddy bass tracks? Probably low-frequency buildup in the corners. The harsh, tinny quality in your mixes? Reflections bouncing off parallel walls.
Expensive microphones capture more detail. That includes room detail. All the flaws you’re trying to avoid become more audible with better gear. It’s a cruel irony that trips up countless home producers.
Think of your room as the first piece of equipment in your signal chain. Everything passes through it. A flawed room affects every single recording you make in that space.
What Is Acoustic Measurement and Why Does It Come First
You can’t fix what you can’t identify. Acoustic measurement reveals exactly how sound behaves in your specific room. No guessing. No assumptions based on what worked in someone else’s space.
The process captures how frequencies respond at different positions. Where does bass pile up? Which frequencies get boosted or cut by room reflections? How long does sound take to decay? These answers guide every treatment decision you’ll make.
Basic Tools for Testing Your Space
You don’t need professional equipment to get started. Your smartphone can handle basic measurements with the right apps. Room EQ Wizard runs free on computers and delivers a surprisingly detailed analysis.
A measurement microphone helps with accuracy. The Behringer ECM8000 costs under fifty dollars and works perfectly for room analysis. Connect it to your audio interface and you’re ready to measure.
Pink noise serves as your test signal. It contains equal energy across all frequencies, revealing how your room treats the full spectrum. Play it through your monitors, capture it with the measurement mic, and the software shows you reality.
What the Numbers Tell You
Frequency response graphs reveal peaks and dips. A big spike at 80Hz means bass is building up somewhere. A dip at 400Hz suggests absorption happening at that frequency.
RT60 measures reverb time. How long does sound take to drop by 60 decibels? Smaller home studios should aim for 0.3 to 0.4 seconds. Too long and everything sounds washed out. Too short feels dead and unnatural.
The data removes emotion from decision-making. You might think your room sounds fine. The graphs tell the truth. They show problems you’ve unconsciously adapted to, issues your ears stopped noticing because you hear them constantly.
Common Acoustic Problems in Home Studios
Every room has issues. Even expensive professional studios require treatment. Home spaces just tend to have more problems and fewer resources to fix them. Knowing what you’re fighting helps you fight smarter.
Echo and Flutter
Clap your hands in an empty room. Hear that ringing? That’s flutter echo. It happens when sound bounces between parallel surfaces repeatedly. Two flat walls facing each other create a ping-pong effect that smears your recordings.
Flutter echo makes vocals sound cheap. It adds a metallic quality to everything. Reverb plugins can’t fix it because the damage happens before the sound reaches your microphone.
Hard floors amplify the problem. So do bare drywall and windows. Any reflective surface contributes. The more hard parallel surfaces in your room, the worse flutter gets.
Low-Frequency Buildup
Bass causes the biggest headaches in small rooms. Low frequencies have long wavelengths that interact with room dimensions in predictable but problematic ways.
Stand in a corner while music plays. Notice how the bass feels louder there? That’s acoustic pressure building up where walls meet. These buildups create false impressions of your low end. You cut bass that sounds boomy in your room, then your mix sounds thin everywhere else.
Room modes create specific frequency problems based on your room’s dimensions. A room that’s 10 feet wide will have issues around 56Hz. Math determines where problems occur. Treatment determines whether they ruin your work.
Outside Noise Bleeding In
Traffic. Neighbors. HVAC systems. Barking dogs. The world doesn’t pause while you record.
External noise limits when you can work. It forces you to record at odd hours. It ruins otherwise perfect takes. And unlike internal acoustic problems, you can’t fully solve it without serious construction.
Windows are the weakest link. Single-pane glass stops almost nothing. Doors with gaps underneath invite sound right in. Thin walls between apartments make home studios nearly impossible without intervention.
Choosing the Right Room for Your Studio
Not all rooms work equally well. If you have options, choose wisely before investing in treatment.
Avoid square rooms. They concentrate acoustic problems at specific frequencies. A 10x10x10 cube is an acoustic nightmare. Rectangular rooms with different dimensions for length, width, and height distribute problems across more frequencies, making them easier to treat.
Carpeted rooms start ahead. That floor absorption handles high-frequency reflections automatically. Closets and furniture add natural diffusion. A bedroom with a full closet and plush carpet needs less treatment than an empty basement with concrete floors.
Consider noise isolation. Interior rooms buffer outside sound better. Rooms away from kitchens and living areas mean fewer interruptions. A basement might have acoustic advantages but also furnace noise and foot traffic overhead.
Size matters more than people admit. Tiny rooms have worse low-frequency problems. You need space for sound to develop naturally. Under 100 square feet gets challenging. Under 70 becomes genuinely difficult to treat effectively.
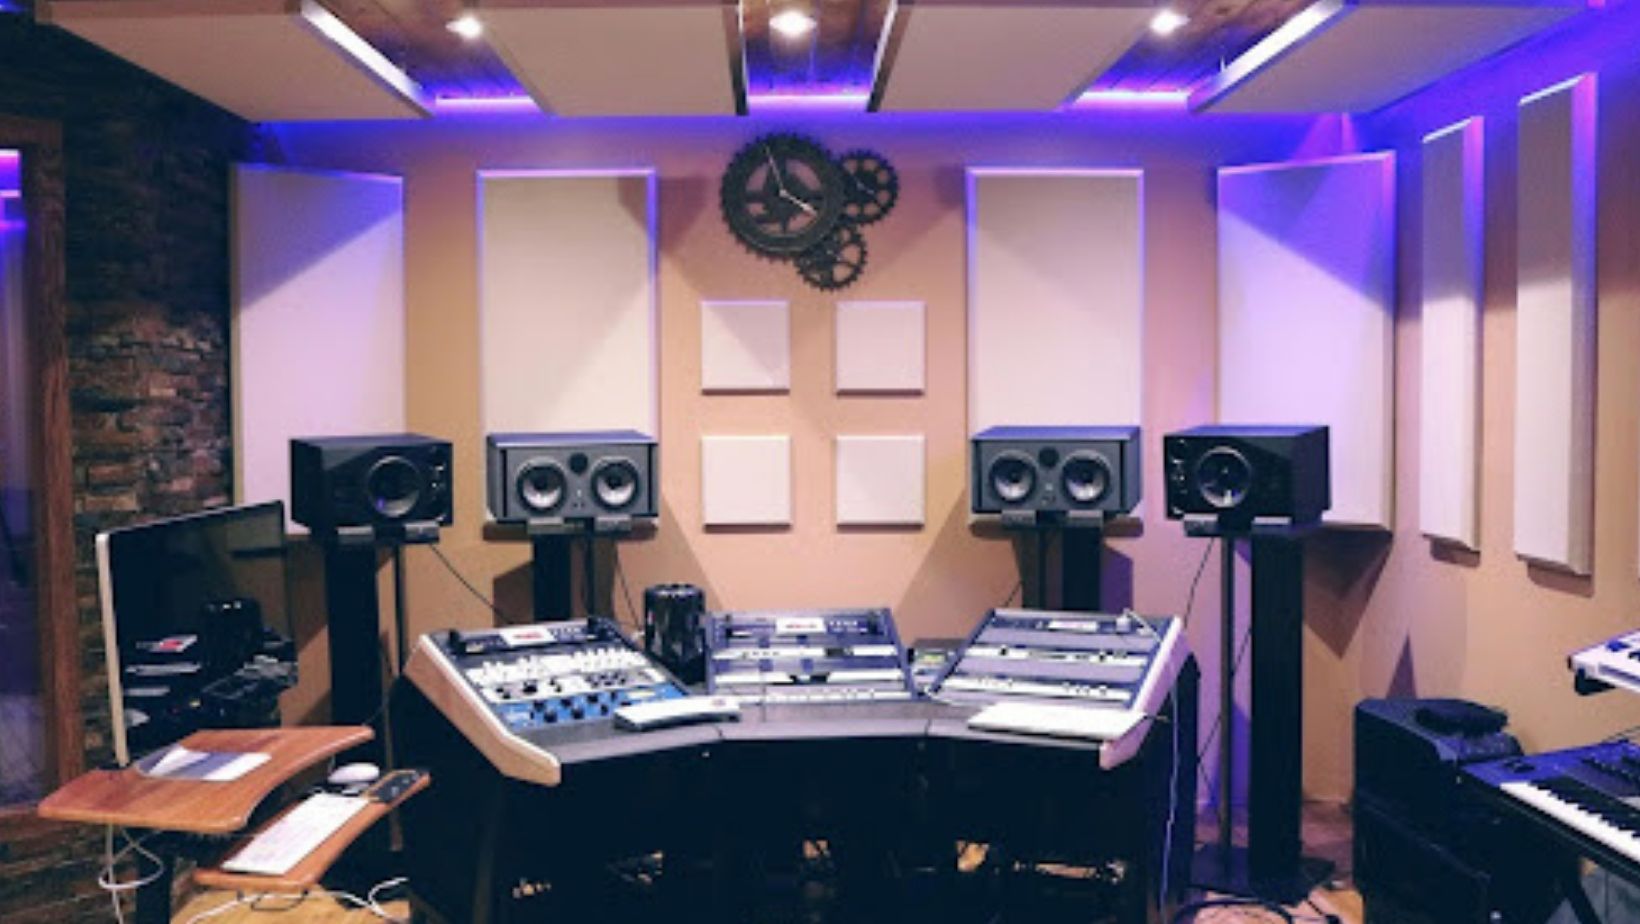
Simple Fixes That Make a Real Difference
You don’t need to spend thousands on professional treatment. Strategic placement of affordable materials solves most home studio problems.
Where to Place Acoustic Panels
First reflections matter most. These are the spots where sound bounces directly from your monitors to your ears. Treating these points cleans up your stereo image dramatically.
Find them using the mirror trick. Sit in your mixing position. Have someone slide a mirror along the side walls. Wherever you see your monitor’s reflection, that’s a first reflection point. Mark it. Treat it.
Corners need bass traps. Floor-to-ceiling absorption in corners tackles low-frequency buildup. Start with the corners behind your monitors. Add more as the budget allows.
The ceiling often gets forgotten. It’s a massive reflective surface right above your workspace. A cloud panel suspended over your mixing position makes a noticeable difference.
Budget-Friendly DIY Solutions
Rockwool insulation works as well as expensive acoustic foam. Better, actually. Build simple wooden frames, fill them with rigid fiberglass or mineral wool, and wrap them in breathable fabric. Total cost per panel runs under thirty dollars.
Bookshelves act as diffusers. Their irregular surfaces scatter sound randomly instead of reflecting it directly back. A full bookshelf on a back wall helps more than bare drywall.
Heavy curtains over windows reduce reflections and help with outside noise. Moving blankets hung temporarily work for recording sessions. Not pretty. Definitely effective.
When to Call a Professional
DIY treatment handles most problems. But some situations need expert help.
Serious noise isolation requires construction knowledge. Building a room within a room involves floating floors, decoupled walls, and careful sealing. Mistakes are expensive. Professionals understand building codes and structural requirements.
Complex room modes sometimes resist simple treatment. If your measurements show severe problems that basic panels can’t fix, an acoustician can design custom solutions. Their expertise costs money but saves wasted effort on ineffective approaches.
Commercial work demands professional treatment. Clients expect quality. If you’re charging for recordings or mixes, your room needs to meet professional standards. The investment pays for itself through better work and satisfied customers.
Know your limits. Start with DIY basics. Measure results. If problems persist despite proper treatment, that’s when professional consultation makes sense.
More Stories
3 Mindset Shifts That Will Change How You Travel
How Global Living Is Shaping Modern Design Choices at Home
How Professional TV Mounting Transforms Your Living Room (And Why DIY Often Fails)