
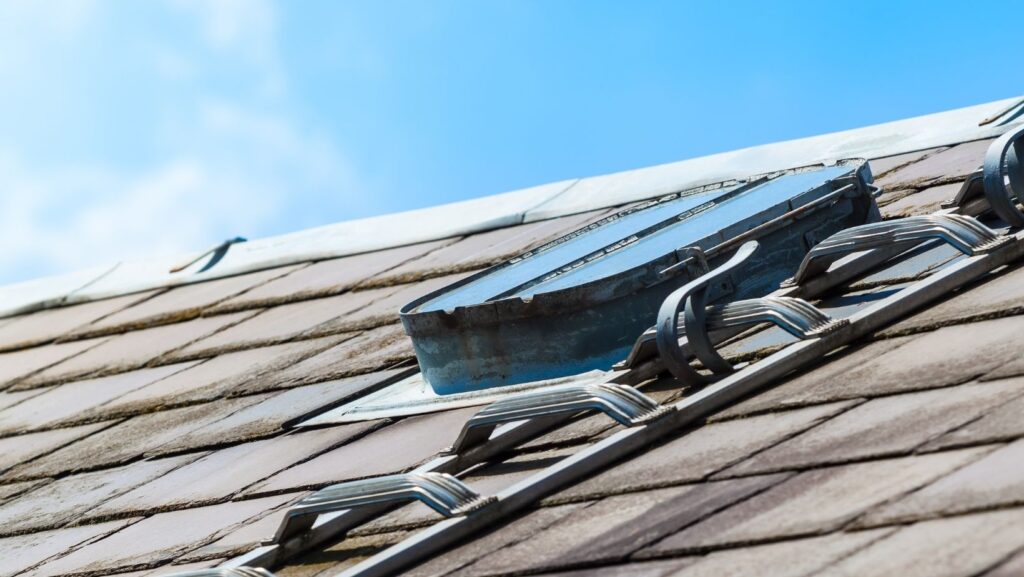
Roof hatches don’t always make it into the renovation checklist, but they should. Whether upgrading insulation, replacing mechanical systems, or reworking the roofline, a remodel is the perfect opportunity to add or reposition a roof hatch.
Roof hatches facilitate routine maintenance, provide easy access to attic spaces, and act as emergency access options, when needed. But it’s not just about having a hatch—it’s about placing it in the right spot.
Poor placement can lead to water leaks, ventilation problems, and awkward interior access, disrupting the building’s flow. When planned well, a roof hatch blends into the roof, preserves energy efficiency, and supports long-term building maintenance without getting in the way.
Understanding Roof Hatch Functions and Applications
Before choosing a spot for a roof hatch, it’s important to understand its purpose and how it affects the rest of the building.
Safety and Accessibility
Roof hatches are essential for worker safety. Unlike awkward ladder setups, they provide safe and easy access for professionals performing routine maintenance, critical repairs, or inspections of rooftop equipment like HVAC units, solar panels, and chimneys.
They also serve as crucial emergency exit points when needed. Building codes often mandate roof hatches as a direct escape route in multi-story buildings or those with occupied attic spaces, offering peace of mind and meeting vital safety standards.
Proper placement reduces the risk and effort involved for anyone needing to access or exit the roof.
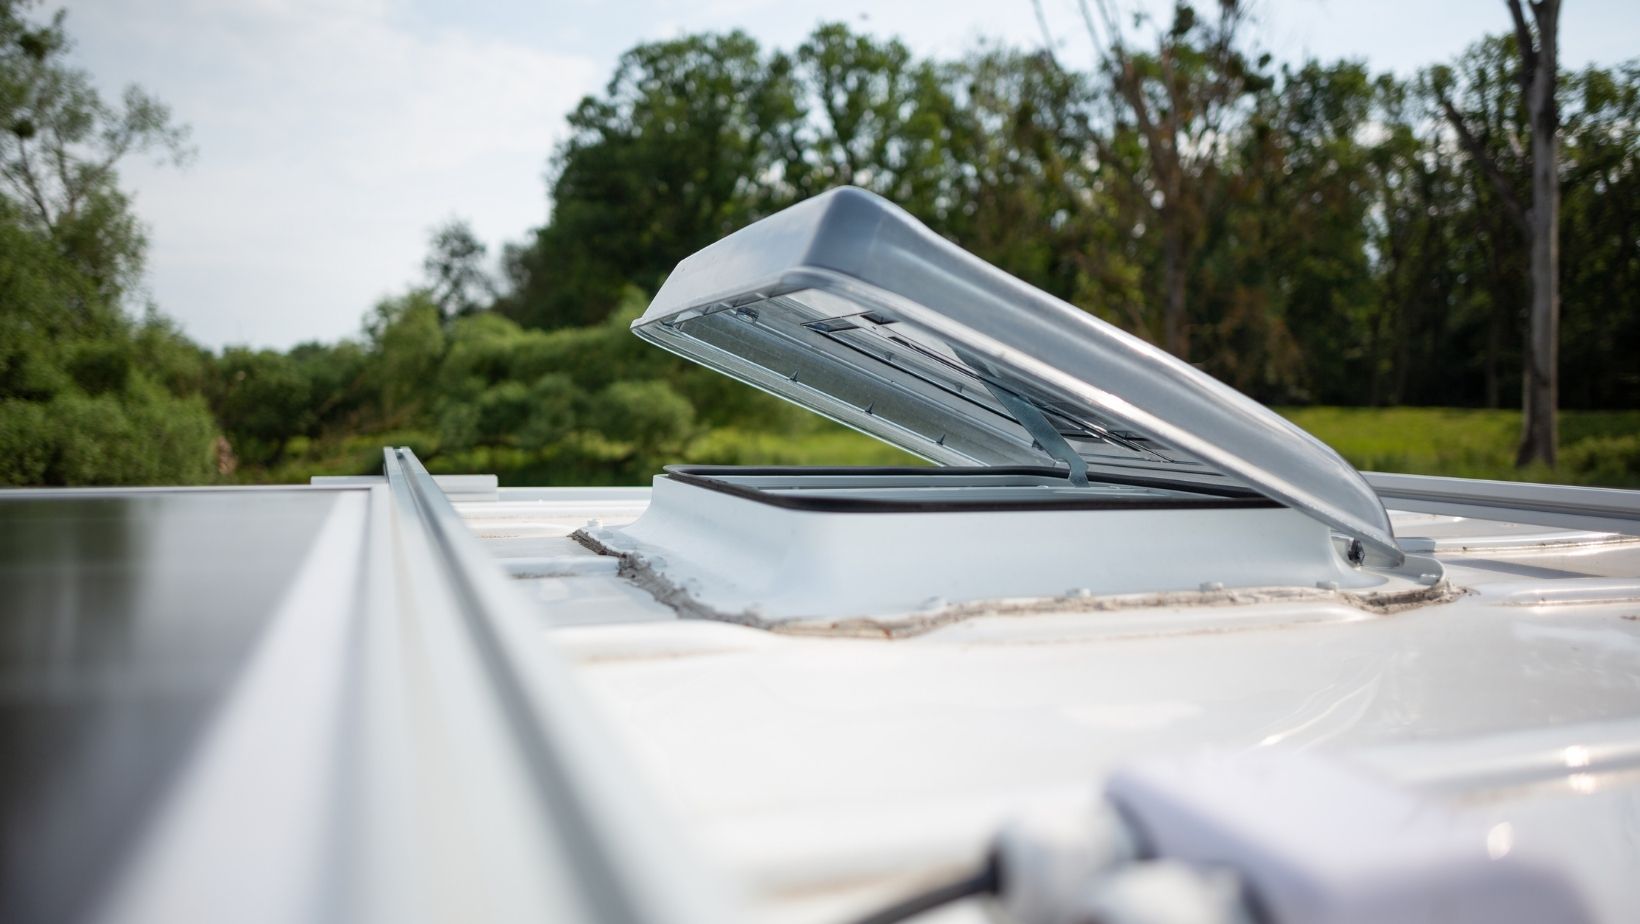
Impact on Attic Ventilation Options
A well-placed roof hatch can also impact attic ventilation. It can contribute to natural ventilation, drawing in cooler, fresh air when combined with other strategies like soffit and ridge vents. This passive airflow helps regulate attic temperatures to maintain an ideal interior environment.
Beyond natural flow, roof hatches are the access doors and panels that facilitate mechanical ventilation. They provide convenient attic entry for installing and maintaining fans or other powered ventilation systems.
This is key to preventing heat and moisture buildup that can lead to costly problems like mold, mildew, wood rot, and even compromised insulation. All these ultimately protect building integrity and air quality.
Water Leakage Risks
Any opening in a roof, including a hatch, creates a vulnerability point for water intrusion. Improper placement or installation can lead to serious leaks. This highlights the critical role of drainage and flashing.
A roof hatch should be flashed to create a watertight seal, ensuring water sheds away from the opening and off the roof.
Snow and ice dams are also a major concern in regions with heavy snowfall. If a hatch is placed where snow tends to accumulate or where ice dams frequently form, it can exacerbate water penetration issues.
Careful consideration of roof slopes and potential snow loads is vital to minimize these risks.
Function and Visual Balance
Finally, a roof hatch doesn’t have to be an eyesore. With thoughtful planning, it can support both function and visual balance. The goal is to ensure the hatch complements the roof design rather than detract from it.
When placed strategically, a roof hatch can integrate well with the overall roofline and contribute to the property’s curb appeal.
Factors To Consider When Choosing Hatch Placement
Choosing the right spot for a roof hatch involves balancing structural, practical, and regulatory considerations.
Structural Integrity and Roof Load
The most important factor is structural integrity. When planning roof hatch installations, avoid cutting primary structural components like rafters or trusses.
The opening will require careful reinforcing to maintain the roof’s strength. Also, consider the hatch’s weight distribution, especially if it’s a heavier model, and the potential snow load it might bear in winter.
This often requires professional assessment and consultation with structural engineers to ensure the roof can support the new opening safely.
Interior Accessibility and Headroom
Consider how the hatch will be accessed from inside the property. A clear path from the interior access point (whether a ladder, pull-down stairs, or a fixed staircase) should lead directly to the hatch.
Headroom clearance is also key to meeting building code requirements and practical needs for safe and comfortable passage through the opening. Consider the access point’s impact on the interior space, as it can affect room layout and usability.
Roof Slope and Orientation
Steep slopes present unique challenges and safety considerations for installing and using hatches. These include increased fall risks, drainage problems, and a complex installation process.
Ideally, hatches should be placed in areas that are relatively flat or have a manageable pitch.
For optimal orientation, place hatches away from direct prevailing winds, which can cause drafts or wind-driven rain. Also, avoid areas prone to water pooling.
Consider sun exposure to minimize direct sunlight, as it can impact the hatch’s material longevity and the building’s energy efficiency.
Proximity To Mechanical Equipment and Service Areas
For ease of maintenance, place hatches near mechanical equipment and service areas. This includes HVAC units, solar panels, and antennas, allowing technicians easy and safe access.
Also, ensure a safe working distance from chimneys and vents to avoid heat exposure or obstruction. Thinking ahead about future expansion for potential rooftop installations is also a smart move.
Local Building Codes and Regulations
Finally, complying with local building codes and regulations is non-negotiable. These codes dictate entry requirements, including minimum dimensions, locking mechanisms, and fire ratings.
Energy efficiency codes will specify insulation requirements for the hatch itself to prevent heat loss or gain. Always get all the necessary permits before installation to avoid costly delays or rework.
Design Tips for Blending Roof Hatches Into Styles
A well-planned roof hatch doesn’t have to be an obvious addition. When done right, it can become a nearly invisible yet integral component of the property’s design.
Material and Color Matching
Choose materials and colors that make the hatch “disappear” into the existing roofing. They should match or complement your roof tiles or shingles, whether metal, fiberglass, or another material.
Opt for low-profile designs or flush-mounted hatches whenever possible to minimize their visual impact from the ground.
Strategic Placement for Minimal Visual Impact
Place hatches on less visible roof slopes or behind parapet walls to keep them out of sight if possible. If the hatch must be visible, integrate it thoughtfully, perhaps by aligning it with the building’s architectural design.
Landscaping and Architectural Elements
Utilize tree cover or other natural elements to obscure the hatch from ground-level views. Similarly, if the roof already has skylights or dormers, consider aligning hatches with these existing roof features to create a cohesive and intentional look.
Conclusion
A well-placed roof hatch offers long-term value. It makes inspections safer, roof maintenance easier, and can even help manage attic airflow. Best of all, with thoughtful placement and design, it doesn’t have to disrupt the building’s look.
Ensure that structural factors, interior access, roof characteristics, and local regulations are all considered before installation. Finally, plan and coordinate with roofers, framers, and designers early in the remodeling process to make the renovation functional and beautiful.
More Stories
Rising Home Repair Costs and What Homeowners Can Do About Them
DIY Home Maintenance: Your Car Shelter, The Intelligent and Fashionable Way to Build
Garage Door Repair: Essential Tips and Professional Services