
A well-designed shower bench can transform an ordinary bathroom into a luxurious retreat. Not only does it provide a comfortable seating area, but it also enhances accessibility and adds a touch of elegance. If you’re looking to create a tile shower with bench, careful planning and execution are essential to achieve both functionality and aesthetic appeal.
Read on to learn how to build a shower bench for a spa-like experience.
Plan Your Shower Bench
A well-designed shower bench combines functionality and luxury, transforming an ordinary shower into a spa-like retreat. Proper planning ensures optimal placement, durable materials, and seamless integration with your shower’s layout. Here’s how to plan your shower bench:
Choosing the Right Location
The ideal placement depends on the shower’s size and layout. Corner benches can maximize shower space, while floating benches along a wall create a sleek, modern appearance. As such, ensure the location doesn’t obstruct water flow or door movement.
Selecting the Perfect Materials
Water-resistant materials are crucial for durability. Some popular choices include:
- Concrete backer board: This provides a sturdy, mold-resistant base.
- Pressure-treated lumber: This is suitable for framing but must be properly sealed.
- Tile-friendly substrates: Some examples include Wedi or Schluter systems used for waterproofing.
For a seamless look, match the bench tiles with the rest of the shower. For instance, using a tile shower with bench offers endless design possibilities, from minimalist neutrals to bold patterns.
Familiarize the Step-by-Step Construction Guide
Building a shower bench requires precision and attention to detail. Below are the steps to create a professional-quality bench that elevates your shower experience:
Step 1: Frame the Bench
Use pressure-treated wood or rust-resistant steel studs to build a durable shower bench frame. Verify the structure is perfectly level with a spirit level and anchor it firmly to adjacent wall studs using corrosion-resistant screws or brackets. This ensures long-term stability and prevents shifting or water damage.
Step 2: Install Waterproofing
To waterproof the shower bench, thoroughly coat the frame with a liquid-applied membrane or install a pre-formed sheet membrane, ensuring full coverage with sealed seams.
This critical step can block moisture infiltration, preventing rot, leaks, and mold behind tiles. Proper overlapping at corners and edges can create a continuous watertight seal for long-term waterproofing and protection.
Step 3: Add the Substrate
Secure cement backer board to the frame using corrosion-resistant screws, spacing them 6-8 inches apart. Embed fiberglass mesh tape over all seams and corners, then apply thin-set mortar to create a monolithic, rigid surface. This can prevent cracking and provide an ideal tile substrate that withstands moisture and weight. Properly staggered board joints can enhance structural integrity.
Step 4: Tile the Bench
Apply thin-set mortar evenly using a notched trowel, then firmly press tiles into place while maintaining uniform gaps with spacers. The subtle slope (1/4″ per foot) directs water toward the drain, preventing pooling. Use a level during installation to verify proper pitch while maintaining a flush tile surface. This technique combines secure adhesion with functional water management.
Step 5: Grout and Seal
Once the thin-set mortar has fully cured (typically 24-48 hours), press grout firmly into the joints using a rubber float, removing excess with a damp sponge. After 72 hours of drying, apply a penetrating sealer specifically formulated for shower environments, creating an invisible barrier against water, soap scum, and mildew. This dual-action protection preserves grout integrity while making routine cleaning significantly easier.
Follow Design Tips for a Spa-Like Feel
Transform your shower bench into a sanctuary with thoughtful design choices. The following are some expert tips for a spa-like feel:
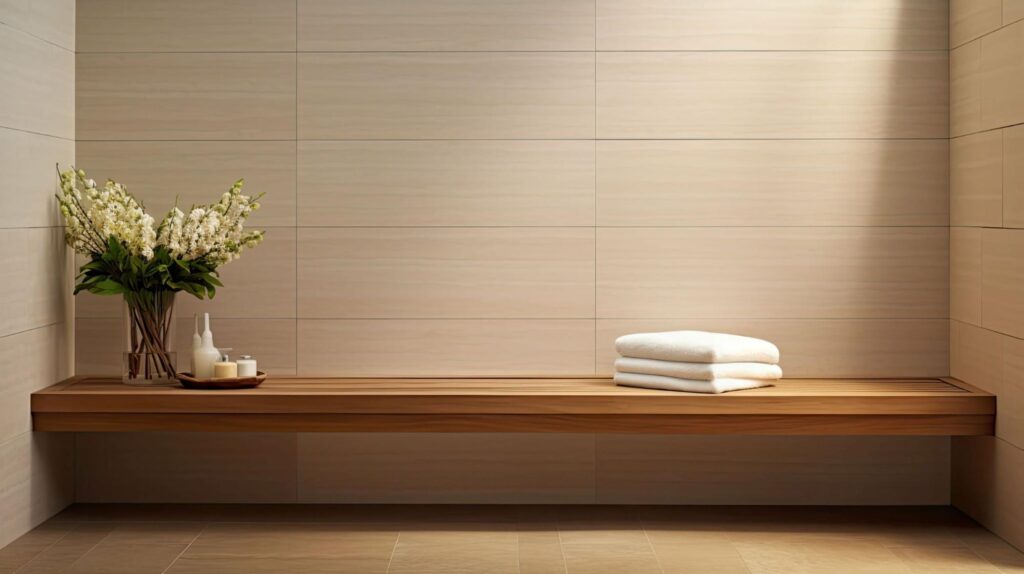
Incorporate Natural Elements
Incorporating natural materials like teak slats, river rock mosaics, or honed travertine can create a tactile connection to nature. Teak’s tight grain and natural oils resist warping, while pebble tiles provide therapeutic foot massage benefits. Stone veneers with organic imperfections can also enhance the spa-like authenticity, with textured surfaces offering slip resistance.
Opt for Heated Shower Seating
For the pinnacle of entire shower indulgence, integrate an electric radiant heating system beneath the bench tiles during construction.
These low-profile heating mats connect to a dedicated GFCI circuit and thermostat, warming the surface to a comfortable 85-100°F. The system provides gentle, even heat that prevents cold shock while enhancing relaxation.
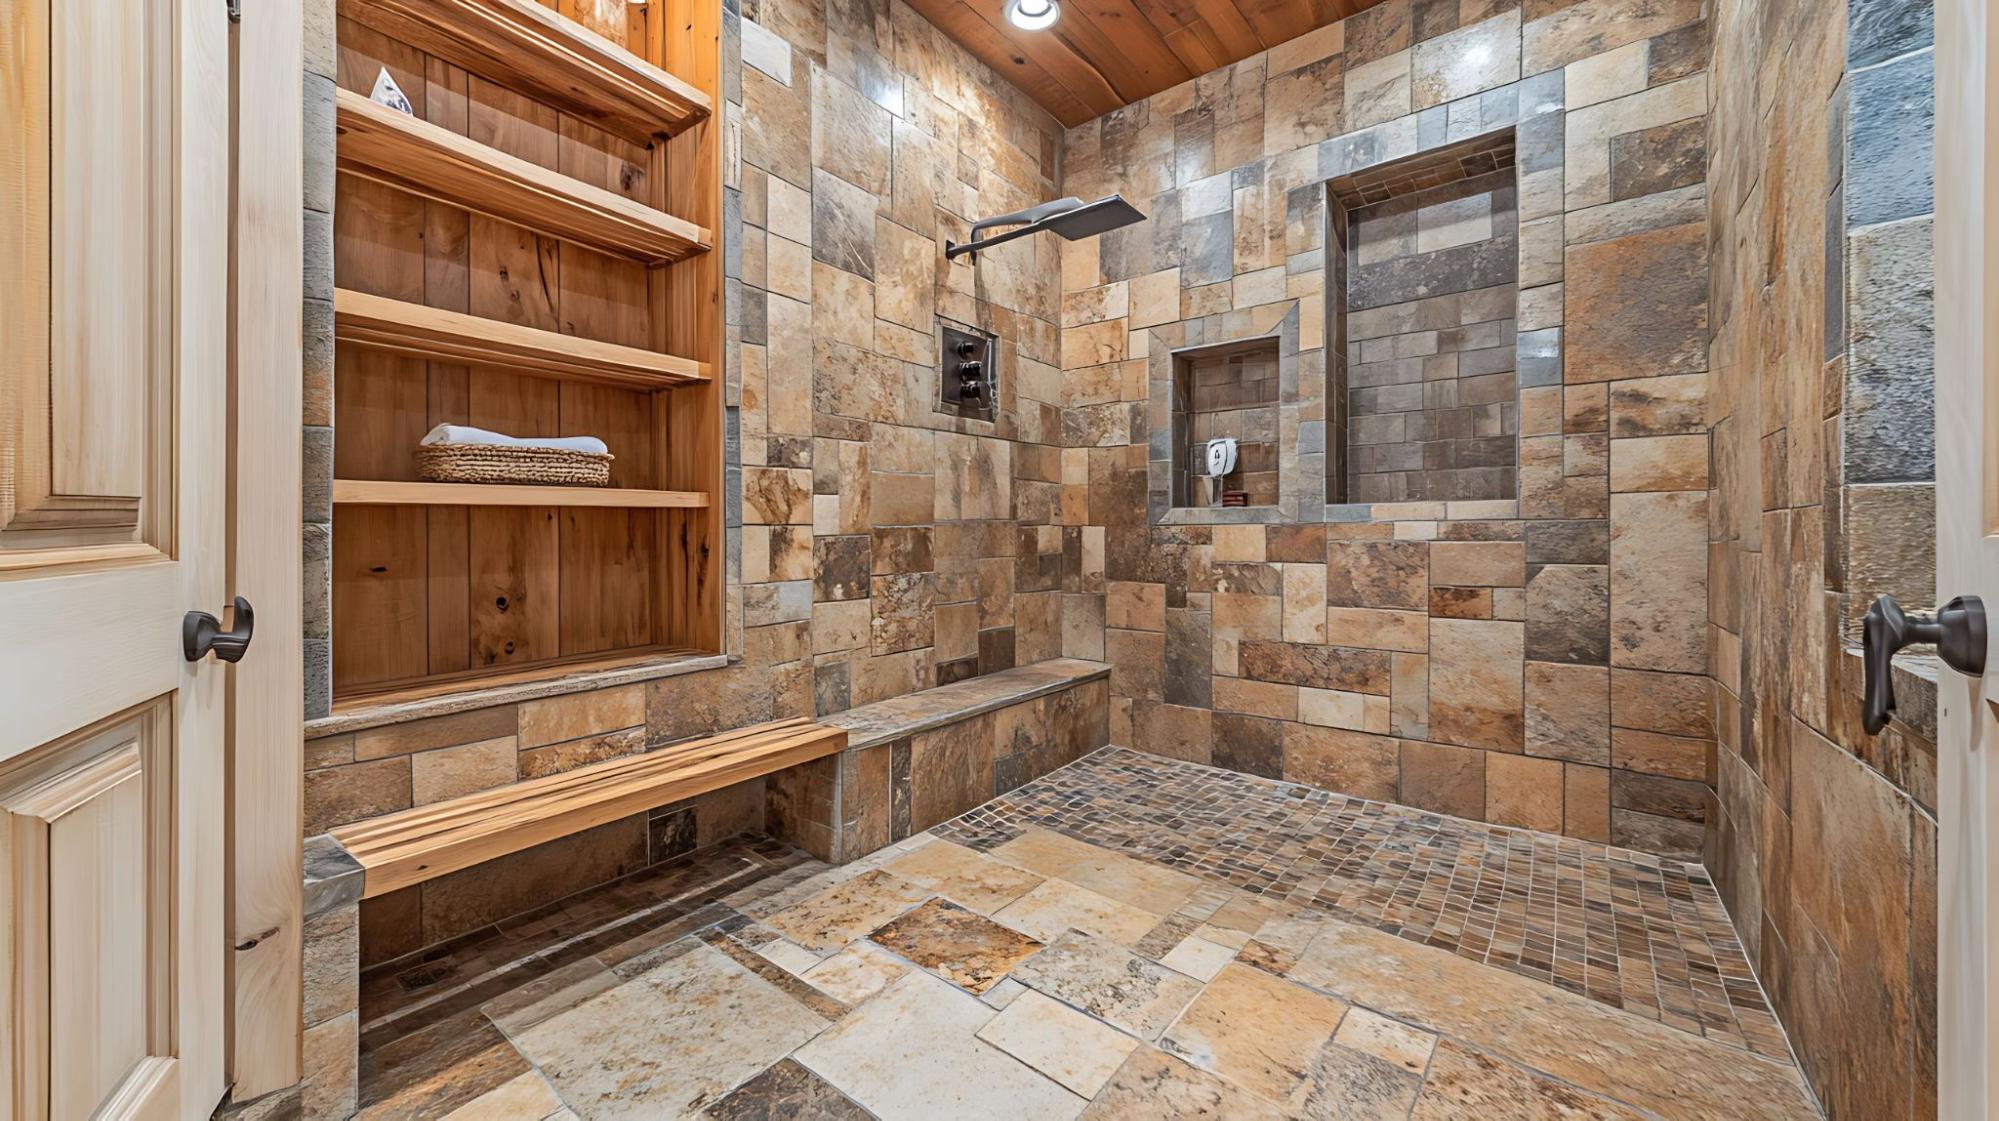
Add Contrast with Tile Patterns
Strategic tile mixing elevates the design element through intentional contrast—pairing a bench with geometric penny tiles or chevron patterns against shower walls featuring large-format marble creates dynamic focal points. The textural interplay of different scales and orientations adds depth while maintaining cohesion through coordinated color tones.
Consider Periodic Resealing
Annual resealing forms an invisible shield that repels water, soap residues, and body oils before they penetrate porous grout lines. Use a penetrating silicone- or fluoropolymer-based sealer, applying it to clean, dry grout with a small brush. Focus on high-splash zones and corners where moisture collects.
Inspect for Damage
Regular inspections should identify hairline cracks, chipped edges, or crumbling grout before moisture penetrates the waterproofing layer. Use a flashlight during examinations to spot subtle defects. Immediate repairs with color-matched epoxy grout or replacement tiles maintain the bench’s watertight integrity.
Final Thoughts
Building a shower bench requires careful planning, quality materials, and precise execution. When done correctly, it enhances both the functionality and aesthetic of a bathroom, creating a spa-like retreat. Whether opting for a simple design idea or a custom tile shower with bench, the result is a luxurious addition that elevates daily routines.
By following these guidelines, you can achieve a durable, stylish, and relaxing shower bench that stands the test of time.
More Stories
6 Checks to Keep Your Backup Generator Safe and Ready
What the Shuffle Overview Reveals About Evolving Digital Experiences
Family Eligibility Under the Vanuatu Citizenship by Investment Program