Composite fencing has become an increasingly popular choice for homeowners looking to enhance their outdoor spaces. Not only does it offer the durability and aesthetic appeal of wood without the heavy maintenance, but it also provides an opportunity for those handy with tools to tackle the project themselves. If you’re considering a DIY installation, you’re in for an exciting journey. This guide will arm you with essential tips and tricks to ensure your composite fencing installation goes smoothly and successfully.
Planning Your Project
Assessing Your Space
Before diving into the installation, it’s crucial to assess your space thoroughly. Start by measuring your yard and determining the total length of fencing you’ll need. Mark the area where the fence will be installed, using stakes or spray paint to outline its path. This step not only helps you visualise the final look but also ensures you purchase the right amount of materials, saving you time and money.
Choosing the Right Materials
Selecting Composite Fencing
When it comes to composite fencing, you have a variety of materials to choose from. Consider factors such as colour, style, and durability when selecting the right type for your needs. Some products mimic the appearance of wood, while others offer a sleek, modern look. Make sure to explore the different options and select one that not only complements your home but also fits your lifestyle. You can get free samples from https://www.dino.co.uk/.
Additional Materials and Tools
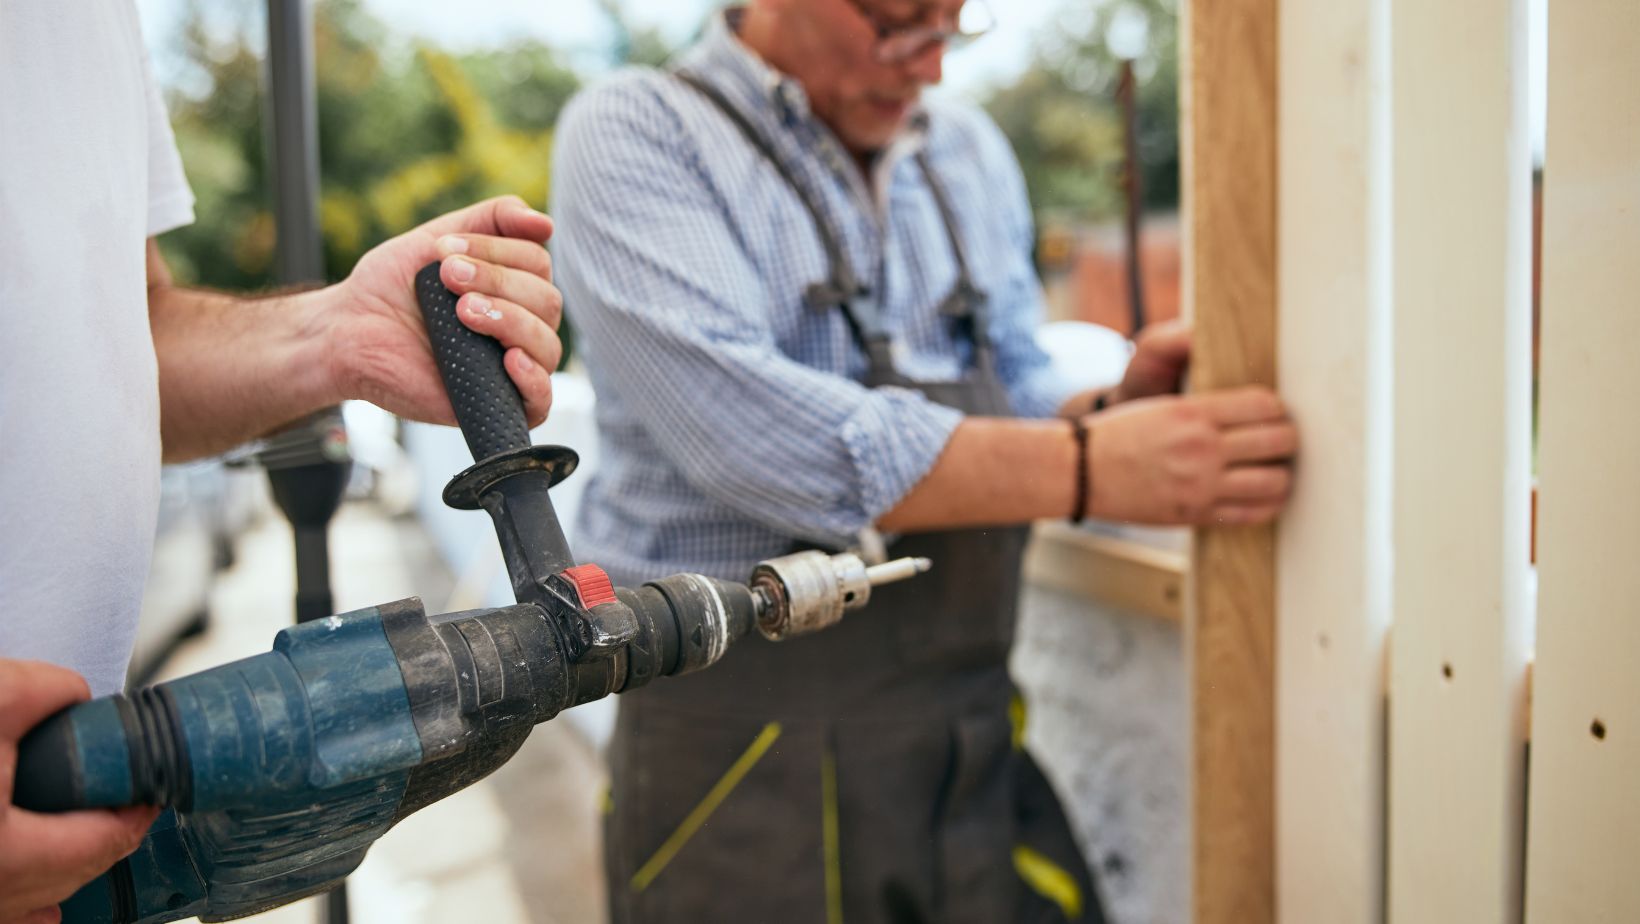
In addition to the composite panels, you’ll need some essential tools for the installation. Gather items like a saw, drill, level, measuring tape, and possibly a post hole digger. Investing in quality tools and materials is crucial; they can make your installation process smoother and contribute to the longevity of your fence.
Preparing the Installation Area
Clearing the Area
Before you can start building, you’ll need to clear the area where the fence will go. Remove any debris, plants, or obstacles that could hinder your work.

A clean, level ground is essential for proper installation, as uneven surfaces can lead to structural issues down the line. Make sure you’ve got a clear path to work with so you can set your posts and panels without a hitch.
Laying Out the Fence
With the area cleared, it’s time to lay out the fence. Use stakes and string to mark the placement of your fence posts and panels. This step is crucial to ensure proper alignment and spacing. Double-check your measurements to maintain uniformity across the entire length of the fence, which will ultimately enhance its visual appeal.
Installing Fence Posts
Digging Post Holes
Now, onto the exciting part: installing the fence posts! Start by digging post holes according to the dimensions recommended by your composite fencing manufacturer. Generally, a depth of 2-3 feet is ideal for stability, but this can vary based on local climate and soil conditions. A post hole digger or auger can make this task much easier, so be sure to have one handy.
Setting the Posts
Once your holes are dug, it’s time to set the posts. Place the posts into the holes and secure them with concrete or gravel, depending on your preference and the manufacturer’s recommendations. Use a level to ensure each post is perfectly vertical before the concrete sets. Taking the time to get this right now will save you headaches later on, so don’t rush this step!
Attaching Composite Panels
Installing the Panels
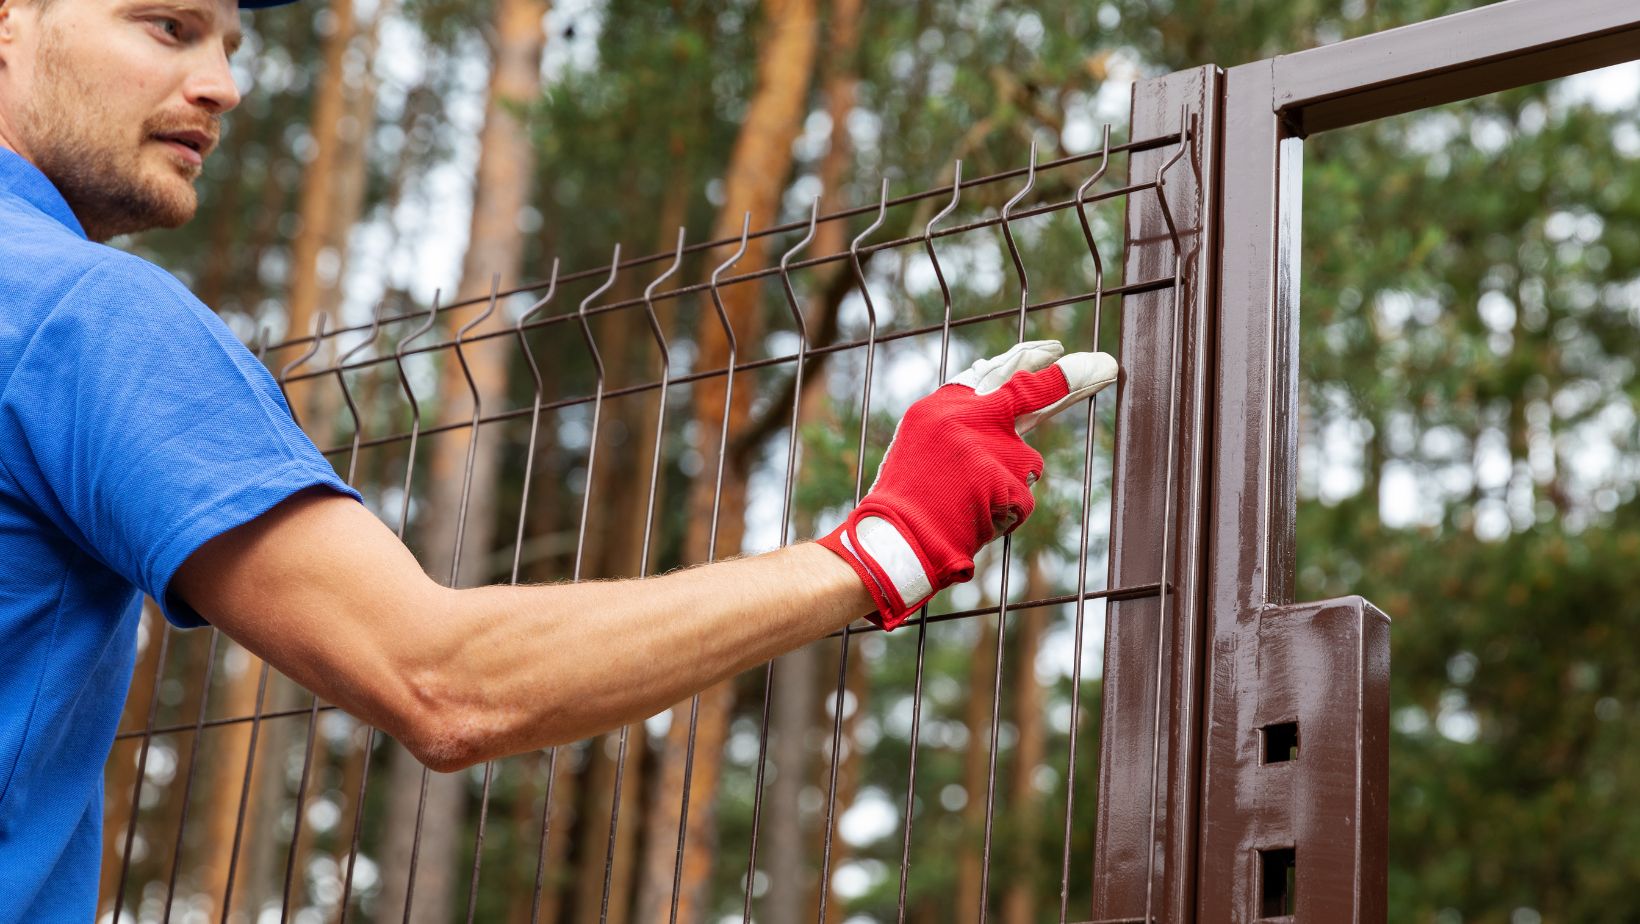
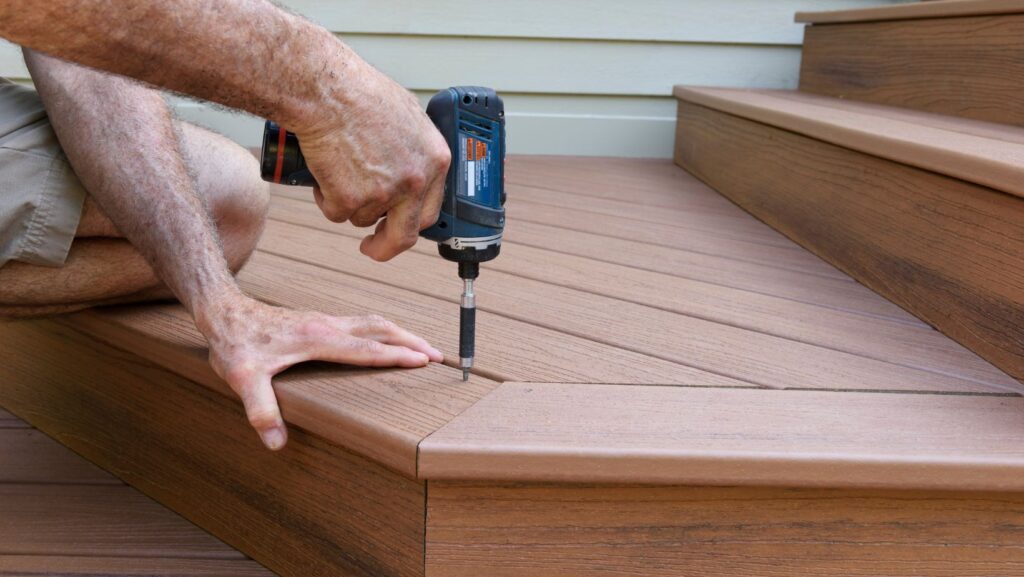
With the posts securely in place, you can start attaching the composite panels. Follow the manufacturer’s instructions for attaching the panels to the posts, paying close attention to alignment and spacing. Most panels come with specific screws or brackets designed for easy installation. It’s essential to follow these guidelines to ensure a sturdy and aesthetically pleasing result.
Final Adjustments
After all panels are attached, take a moment to check for level and uniformity. If you notice any panels that need adjustment, now is the time to make those changes before everything is fully secured. This final check ensures that your fence not only looks great but functions well too.
Should Fence Posts be Above or Below Ground?
Do you want to install fencing by yourself? Something that you have to think carefully about is the fence posts. Typically, this is going to be installed first. Then, you’ll attach the panels. Of course, stability and strength are important and you want to make sure they’re trustworthy for your whole fence.

Typically, there are two ways you can install the posts. You can choose to secure them above ground or you can have them installed into the ground. Is there an ideal way you should choose? Let’s take a look at the options so you can select one.
Above Ground
First, know that you can install fence posts above ground. Typically, they’re on a base plate, which can work well if the fencing is being installed on paving or other areas of ground with concrete. This is viewed as a quick and easy way to build your perimeter. You’ve got no digging to do and the posts aren’t in contact with soil and dampness. This is going to be an option if you’re looking to quickly put up a fence, but it’s not always going to be the most durable.
Below Ground
A popular way to install fencing posts is below ground. Many people believe this is the most secure way to secure your fence and creates more stability, which is what you want with the weather in the UK. In particular, it can mean that it stands up better when there are strong winds. Thus, the posts are in concrete and this can help you to enjoy your fence for many years without any problems. When you’re using composite materials, you don’t have to worry about rotting.
Conclusion
Installing composite fencing on your own can be a rewarding project that enhances your home’s appeal and functionality. By following these tips and tricks, you can ensure a successful installation that you can take pride in. Remember to take your time, enjoy the process, and don’t hesitate to ask for help if you need it. Once you’ve completed your new fence, kick back and enjoy your transformed outdoor space!


More Stories
The Influence of Minimalism on Modern Interior Trends
Trends of Bathroom Vanities in 2025: A Guide for the US Audience
What Makes Wave Curtains the Finest Choice for Modern Homes?