

Turning a carport into a garage is a smart way to boost your home’s value and provide better protection for your vehicle. It also offers extra storage space and security for your belongings. If you’re new to home improvement, don’t worry—this guide will walk you through the process step-by-step so you can feel confident even if you’re just getting started.
Before going into the specifics, it’s important to understand the basics of what this project involves and how to get started.
What’s Involved in Converting a Carport to a Garage?
First, let’s break down the basics. A carport is an open structure with a roof but no walls, while a garage is fully enclosed. The main difference between the two is the protection and security they offer. To convert your carport into a garage, you’ll need to add walls and a door and make sure the structure meets local building codes.
Now, let’s look at the steps to get your carport conversion project underway.
Step 1: Check Local Building Codes and Permits
Before you start anything, it’s important to check your local building regulations. Different areas have different rules for home improvement projects, including the materials you can use and the size of the structure. You’ll also need a building permit to make sure the work is legal.
Getting a permit might sound like a hassle, but it’s a step you can’t skip. If you go ahead without one, you could face fines or be forced to undo the work later. Your local city or town planning office can provide the details, or you can hire a contractor who’s selling car ports to handle the paperwork for you.
Pro Tip: If you’re unsure about the process, it’s best to consult with a professional to avoid any headaches later on.
Step 2: Check the Foundation
Most carports are built on a concrete slab, which is a good start for a garage. However, you’ll need to check if the slab is thick enough to support the weight of the new walls and garage door. Garages usually require a stronger foundation to hold up vehicles and other heavy items.
If your current slab isn’t thick enough, you may need to pour more concrete to strengthen it. This is important to ensure the garage is safe and will last for years to come.
Example: If your existing concrete slab is only four inches thick, you may need to increase it to six inches to meet safety standards.
Step 3: Build the Walls
Once the foundation is ready, it’s time to build the walls. Most carports already have posts holding up the roof. For the garage, you’ll need to add walls around these posts to close off the space.

While framing the walls, think about adding insulation. This will help keep the garage warm in the winter and cool in the summer, especially if you plan to use it as more than just storage.
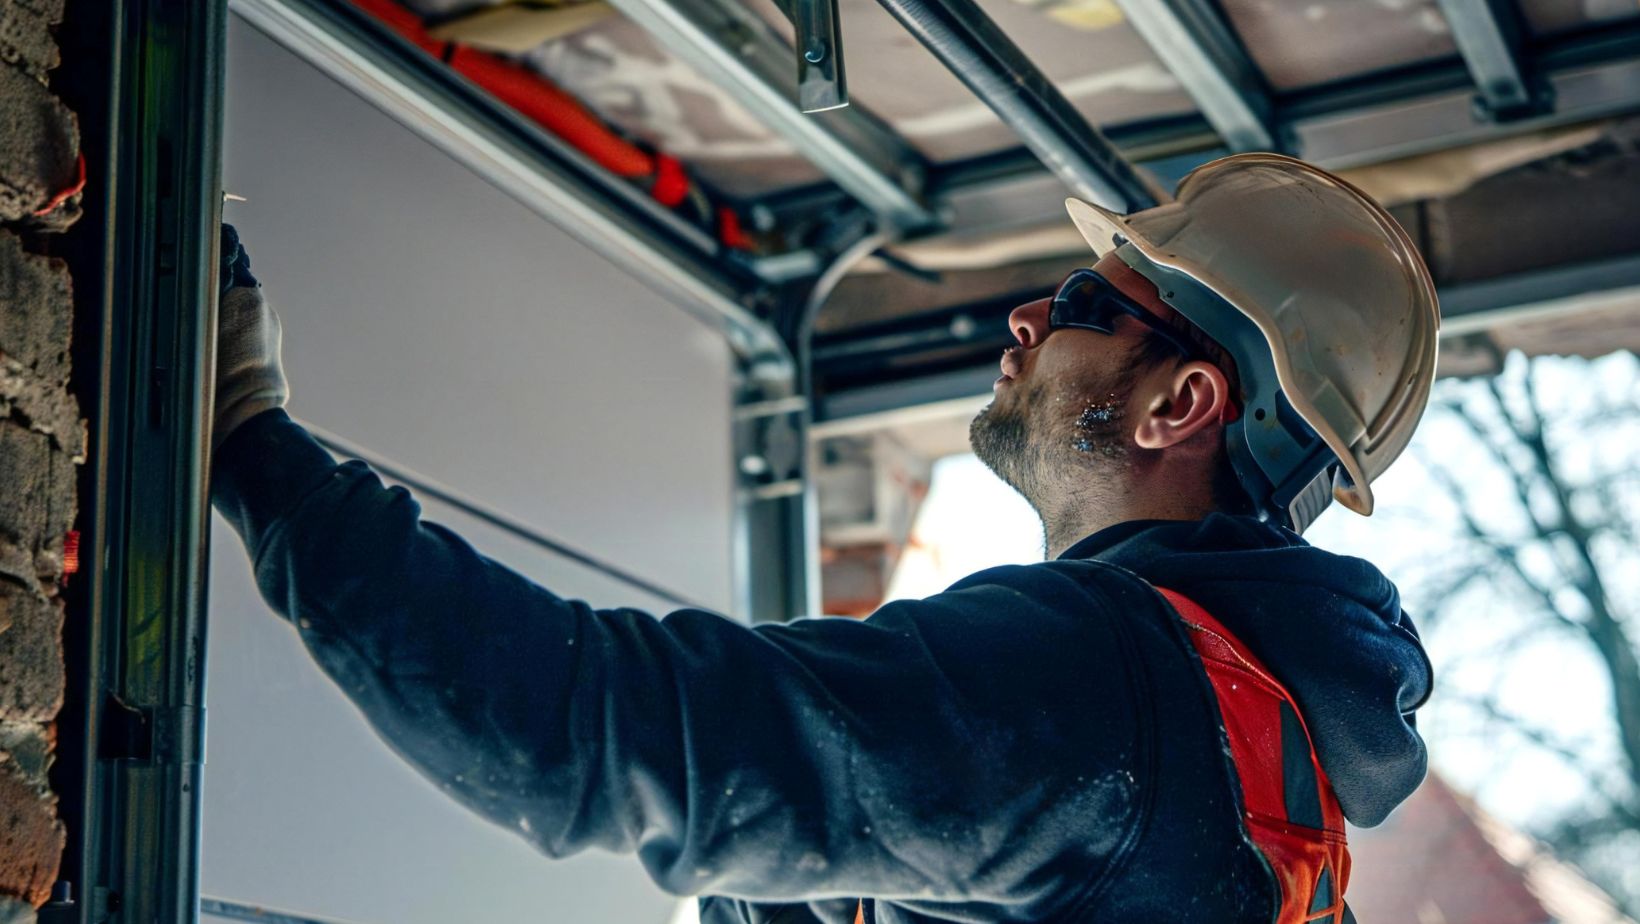
Step 4: Install a Garage Door
A big part of converting your carport into a garage is adding the door. The type of door you choose depends on your budget and preferences. Roll-up garage doors are popular because they’re easy to use and don’t take up much space. You’ll also want to make sure the door seals properly to keep out rain, wind, and pests.
If you want more convenience, consider getting an automatic garage door. These can be opened with a remote or even your smartphone, making life easier.
Question to consider: Wouldn’t it be great to open your garage door without ever leaving your car?
Step 5: Match the Exterior to Your Home
Next, focus on the exterior of the garage. You want it to look like it belongs with the rest of your house. Match the siding, paint, or brickwork to your home’s design so it blends in seamlessly. This will not only improve the look of your property but also increase its curb appeal.
Step 6: Add Insulation and Flooring
If you want to make your garage comfortable for more than just parking cars, think about adding insulation and improving the flooring. Insulation helps control the temperature, making the space more versatile. For the floor, you can leave it as concrete or upgrade to epoxy flooring, which is more durable and easy to clean.
Example: Epoxy flooring not only looks good, but it’s also resistant to oil spills, which can be a common problem in garages.
Step 7: Install Utilities
To make your garage even more useful, consider adding electrical outlets, lights, and maybe even a heating or cooling system. Garages can get hot in the summer and cold in the winter, so adding proper ventilation or climate control can make it a comfortable space year-round.
If your carport didn’t have electricity before, this is the perfect time to install wiring for outlets and lights. It’s easier to do this while the walls are being built than to try and add it later.
Once the big steps are done, don’t forget the final touches. Paint the walls, organize the space, and maybe even add shelves for extra storage. This is your chance to make the garage not only functional but also visually appealing.
Conclusion
Converting a carport into a garage is a great investment for homeowners. Not only will it protect your car and belongings from the weather, but it will also add value to your home. By following these steps—checking codes, building walls, installing a door, and finishing the interior—you can successfully complete this project and enjoy the benefits for years to come. Whether you do it yourself or hire a professional, turning your carport into a garage is a project worth considering.
More Stories
How to Create a Sustainable Whole House Remodel in Utah: Eco-Friendly Materials and Practices
5 Signs Your Homes Toilet Needs to Be Repaired by a Local Plumber
How to Choose the Right Home Repair Service from an Online Directory