
Have you ever stared at your ceiling fan and realized the lamp shades are dusty, cracked, or just plain outdated? Replacing them might seem tricky, but with the right steps, it’s easier than you think. This guide walks you through everything you need to know—tools, methods, and practical tips—so you can refresh your lighting in no time!
Why Replacing Lamp Shades Matters
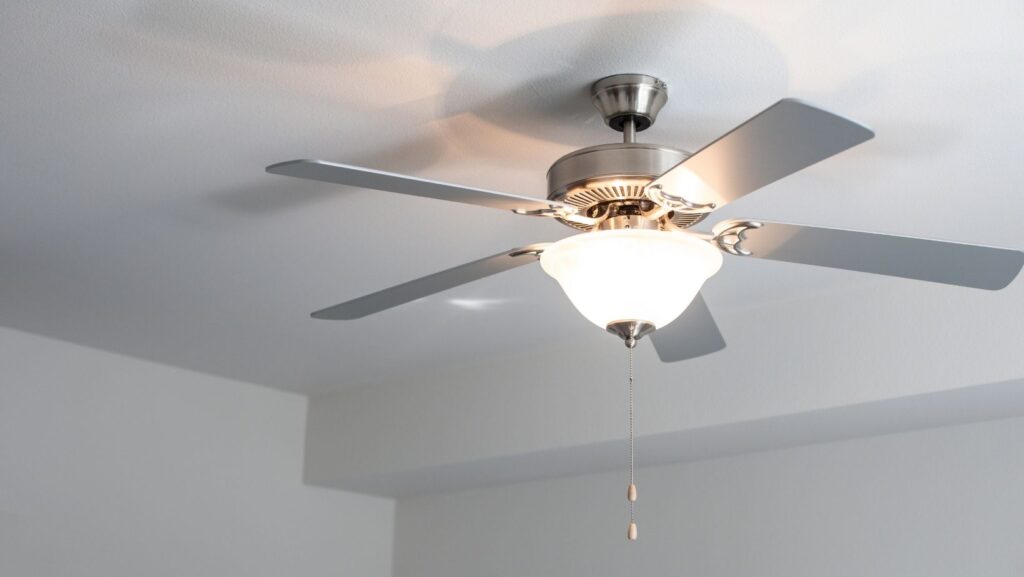
Old or broken lamp shades can dim the room, collect dust, and even affect the fan’s balance. Changing them improves lighting, room aesthetics, and safety. For example, a cracked shade can drop glass shards, while outdated styles can make your living space feel old-fashioned.
What You’ll Need
Before starting, gather these simple tools. Most are common household items or easily found at hardware stores:
- Screwdriver set – usually Phillips head fits most fan screws
- Step ladder – ensure stable footing
- New lamp shades – compatible with your fan model (check diameter and fitting type)
- Soft cloth – to clean shades or fan surfaces
- Optional: gloves – for delicate glass shades
Pro Tip: Measure your existing shades before purchasing replacements. You can check [Wikipedia’s page on ceiling fans](https://en.wikipedia.org/wiki/Ceiling_fan) for different lamp types.
3 Easy Methods to Replace Lamp Shades
Method 1: Twist-Off Shades
Many fans use a simple twist-on mechanism. Follow these steps:
- Turn off the fan and ensure bulbs are cool.
- Hold the shade and twist counterclockwise. It should release easily.
- Insert the new shade and twist clockwise until secure.
Method 2: Screwed-on Shades
Some shades are fixed with screws. Here’s how to remove them safely:
- Turn off power and let bulbs cool.
- Use a screwdriver to unscrew the securing screws.
- Carefully lower the shade, place the new one, and reattach screws.
Method 3: Clip-on or Spring Mechanism Shades
These often clip directly over the bulb or socket:
- Switch off power.
- Gently squeeze the clips and release the shade.
- Align the new shade and let the clips secure it in place.
Comparison Table: Which Method is Fastest?
| Method | Average Time | Difficulty | Best For |
| Twist-Off | 5-7 minutes | Easy | Plastic or glass shades |
| Screwed-On | 10-15 minutes | Moderate | Older or heavy glass shades |
| Clip-On | 3-5 minutes | Easy | Lightweight shades with spring clips |
3 Common Mistakes to Avoid
- Not turning off the fan – safety first!
- Using the wrong size shade – measure before buying.
- Over-tightening screws – can crack glass shades.
Practical Everyday Scenarios
Scenario 1: You just bought a new fan for your living room, but the shades are outdated. Swapping them with modern frosted glass shades instantly updates the room’s look.
Scenario 2: Your kid accidentally broke a lamp shade. Replacing it with a durable acrylic shade prevents future accidents and saves money.
Scenario 3: You’re hosting a dinner and notice the light is too dim. Choosing clear glass shades improves brightness and mood instantly.
Extra Tips for a Smooth Replacement
- Clean the fan blades and socket area while the shade is removed. This cuts dust by up to 50% each month!
- If your fan is high, use a stable ladder or ask for help—safety matters more than speed.
- Consider LED bulbs that fit your new shades for energy savings and longer life.
- Check manufacturer manuals for model-specific instructions; many are online at [Home Depot Ceiling Fan Guides](https://www.homedepot.com/c/ceiling_fan_guides) or [Lowe’s Lighting Guides](https://www.lowes.com/l/c/ceiling-fans).
Quick Reference Table: Replacement Time vs. Method
| Method | Time Needed | Tools Required | Ease Rating (1-5) |
| Twist-Off | 5-7 mins | None | 5 |
| Screwed-On | 10-15 mins | Screwdriver | 3 |
| Clip-On | 3-5 mins | None | 5 |
Formulas for Quick Estimation
Time Saved Formula: Time saved per week = Number of shades × Average replacement time ÷ 2 (assuming 2 removals per week for cleaning)
Example: 5 shades × 6 minutes ÷ 2 = 15 minutes saved weekly.
Cost Saving Example: Savings = Old bulb replacement cost – New LED bulb cost
If old bulbs cost $20 per month, new LED $5 → $20 – $5 = $15 monthly savings.
Where to Learn More
- Ceiling fan types and mechanisms – Wikipedia
- Buying guide for safe fan replacements – Consumer Reports
- Practical installation instructions – Home Depot
- Lighting guides and shade types – Lowe’s
- LED bulb tips and savings – U.S. Department of Energy
- Step-by-step light fixture replacement guide – Family Handyman
Conclusion
Replacing ceiling fan lamp shades is simpler than it looks. Whether you choose twist-off, screwed-on, or clip-on shades, following these methods ensures a safe, quick, and visually appealing result. Keep your tools ready, measure twice, and always prioritize safety. Once you master these 5 simple steps, you’ll enjoy brighter rooms, cleaner spaces, and a refreshed home ambiance!
More Stories
Сlawfoot tubs for Timeless Bathroom Elegance
Progressive Slots Explained: The Mechanics Behind the Jackpot and What Players Actually Need to Know
10 Tips for Finding a Trusted Garage Door Company Near You