
Whether you’re tackling a full kitchen remodel, building custom storage, or doing small projects throughout your home, choosing the right materials can make or break your project. Among several options available to the modern DIY enthusiast and contractor, plywood stands out for its remarkable versatility, structural integrity, and cost-effectiveness. When purchased in bulk, this engineered wood product becomes an exceptionally economical choice for large-scale endeavors, allowing for significant savings and cohesive design execution.
This guide outlines key considerations and methodologies for incorporating bulk plywood into residential upgrades to ensure durable and aesthetically pleasing results.
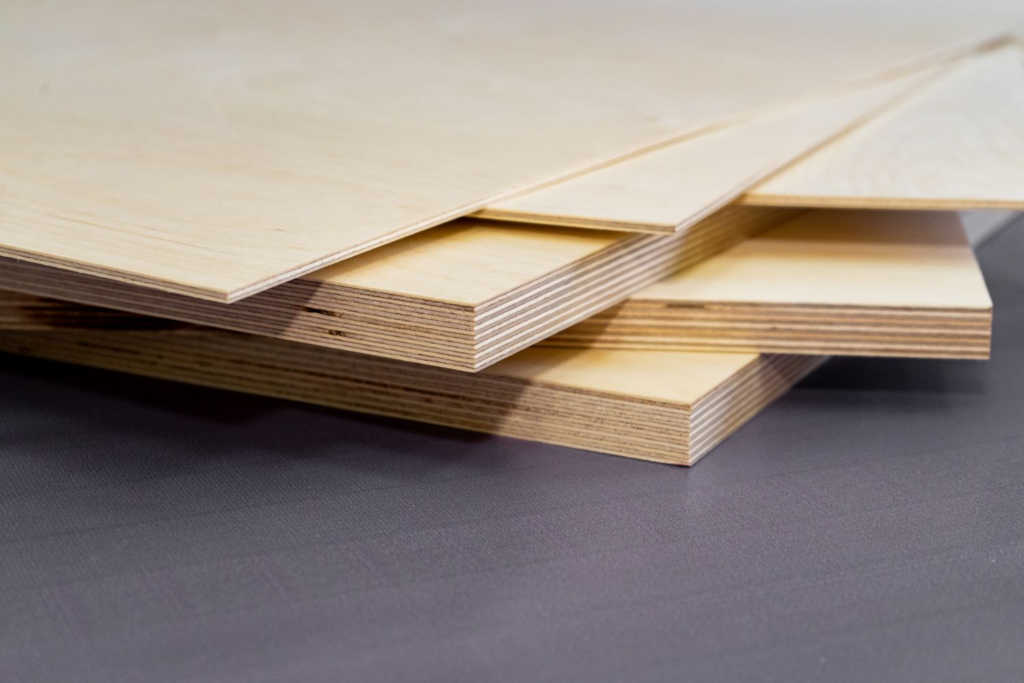
Understanding Plywood Grades and Types
Plywood consists of several thin wood layers bonded together, with alternating grain directions in each layer. This construction method can enhance strength, reduce shrinkage, and minimize the tendency to warp.
The grade you need depends on what you’re building. For indoor projects like cabinets or shelves where people will see the surface, Grade A plywood or A/B and B/C grades are ideal choices. They have smooth, sanded surfaces that are ready to paint or stain.
In areas prone to moisture, such as bathrooms or laundry rooms, water resistant exterior-grade plywood or Medium Density Overlay (MDO) plywood offers excellent protection at a more reasonable cost than marine-grade options. For structural subflooring, Tongue and Groove (T&G) panels provide enhanced stability and help prevent seams from shifting over time, creating a solid, quiet base.
When you’re not sure which type fits your project best, check with your local lumberyard or reputable resources like cutwrights.com for recommendations based on what you’re building.
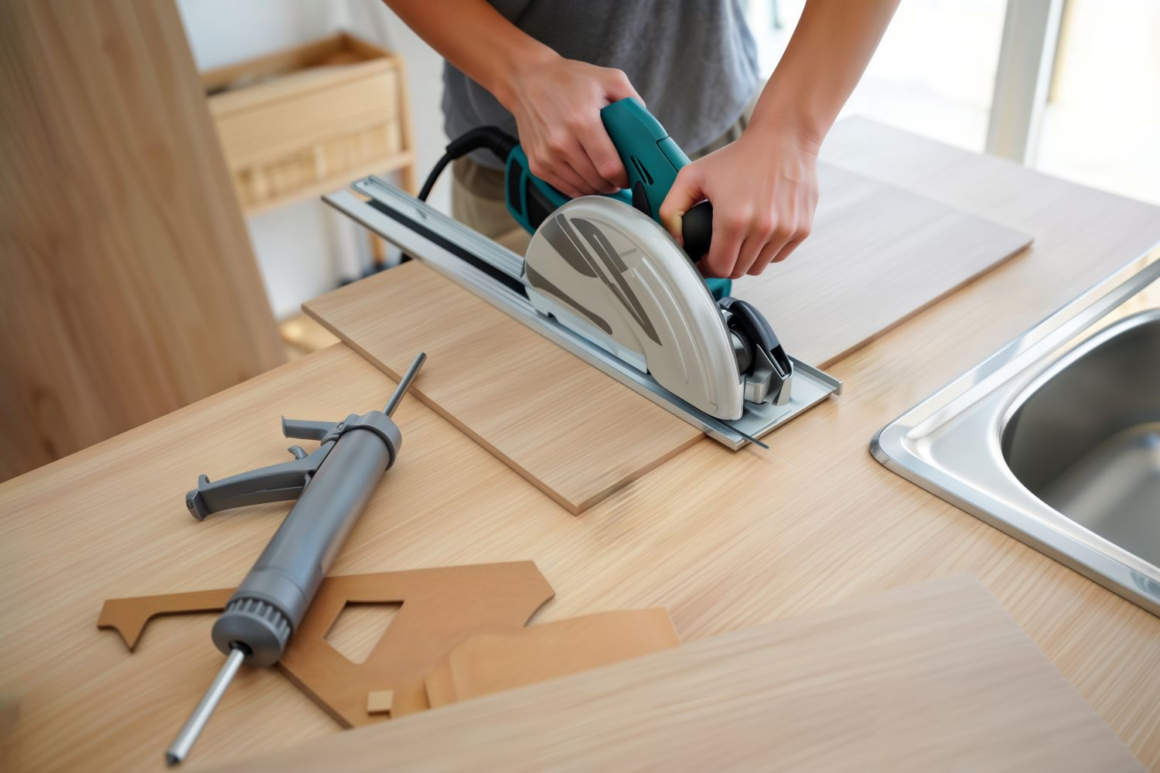
Essential Tools and Cutting Techniques
Working with full 4×8 sheets of plywood can be difficult, but the right tools make it manageable. A circular saw with a straightedge clamp, for instance, works well for breaking down sheets into smaller pieces. If you want cleaner cuts, a table saw is great for straight rip cuts, and a track saw gives you precision without needing a big workshop setup. You’ll also want a power drill, a jigsaw for curves, and a sander for smoothing surfaces.
No matter which saw you use, get a fine-tooth blade made for plywood. This prevents the top layer from chipping and tearing. Also, always support the entire sheet while cutting. You can use sawhorses or lay it on foam panels to keep it stable and safe.
Strategic Sourcing and Material Calculation
Before you start cutting, map out your project on paper or use software to plan how you’ll cut each sheet. Standard plywood comes in 4-foot by 8-foot sheets, so you want to figure out the most efficient way to get all your pieces from each sheet without wasting material. If your project needs multiple sheets, getting plywood in bulk can save you money through volume discounts.
Add about 10-15% extra to your calculations for mistakes, adjustments, or future repairs, too. It’s better to have a little left over than to run short halfway through. Local lumberyards often have better selection and specialty types compared to big box stores, and their staff can usually help you figure out exactly what you need.
Common Uses in Home Renovation
Plywood works for both the hidden structural parts of your home and the finished surfaces people see. Here are some of the most common ways to use it in home renovations:
Cabinets and Shelves
Plywood is ideal for building cabinets, shelf interiors, bookshelves, wood boxes, and closet organizers. It holds screws better than particleboard and doesn’t sag over time. A 10-foot wall of shelves typically needs 4-5 sheets of 3/4-inch plywood, while a bedroom closet system might take 6-8 sheets.
For a clean, professional look, use maple or birch plywood. These have smooth surfaces that take paint beautifully or can be finished with a clear coat to show the wood grain.
Furniture and Wall Treatments
You can build desks, tables, wainscoting, and even ceiling panels with plywood. To hide the layered edges, add edge banding or glue on strips of solid hardwood. This is especially effective with hardwood plywood like oak or walnut, where the natural grain on the face looks premium.
If you’re on a budget, consider using cheaper core plywood and save money for nice veneer on the visible surfaces and solid wood trim on the edges. For complex shapes or perfect joints, CNC cutting services can cut your plywood to exact specifications.
Storage and Utility Projects
For garage storage, DIY wood shelves, workshop cabinetry, or basement shelving, less expensive grades of plywood like CDX or sheathing ply offer a perfect balance of strength and affordability. This strategic material selection is key to saving money on projects where appearance is secondary to pure function. These utility grades may have visible defects like knotholes and patches, but these don’t matter for structural supports and tool racks.
Even with these budget-friendly options, make sure you’re getting quality plywood with solid, intact layers and strong glue bonds. This ensures your shelves won’t sag or fall apart under weight.
Finishing Your Project
How you finish plywood affects both how it looks and how long it lasts. Start by sanding with 120-grit sandpaper and work up to 220-grit for a smooth surface. Fill any gaps or voids in the edges with wood filler, let it dry, then sand smooth.
If you’re painting, use a quality primer first to prevent the grain from showing through. Apply two or three thin coats of paint, sanding lightly between each coat. This specific fine grit removes tiny imperfections and dust nibs without scratching the finish, which can give you a professional, smooth surface.
For a natural wood finish, use wood conditioner on the surface before staining (especially on cherry or pine) so the stain goes on evenly. Then protect it with several coats of polyurethane.
Key Takeaway
Plywood is incredibly useful for home renovations because it’s strong, comes in large sheets, and works for so many different projects. The key is choosing the right grade for what you’re building, planning your cuts carefully, and finishing it properly.
The biggest mistake people make is not buying enough material. So, always add that 10-15% buffer and round up when calculating how many sheets you need. With the right approach, you can create everything from simple storage to custom furniture that looks professionally made.
More Stories
Garage Door Repair: Essential Tips and Professional Services
How Roofing Contractors Can Be Easier for Customers To Find and Trust
Office Space on a Budget: Why Steel Buildings Make Sense